
Hello friends!
Since the festival of lights is just around the corner and one can already feel the enthusiasm of its celebrations all around, I too got inspired by it and the idea of creating something related to it gave life to my imagination in the form of this Tea Light Holder. Starting from scratch and bringing your efforts to the finished form is indeed so rewarding to the joy and satisfaction of creating something. Hope you like and get inspired by this creation where I have used Craft Cement as the base and along with other products Little Birdie's Stone Texture Paste has been used to add to its beauty. Do create and participate in the ongoing Itsy Bitsy Blog Challenge 25.
Lets start with the process of creating ...
I took an empty can of Pringles . Cut it into desired size as per the height you intend to have of your candle holder. Since its made of cardboard ,it can easily be cut with a knife, scissor, or any paper cutter.

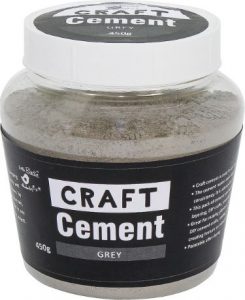
Prepare a mixture of Craft Cement and water into a peanut butter consistency.

Pour the Cement mixture into the mould of pringle can.


Take any small plastic container. It should be little bigger than the diameter of the tea light candle. Apply vaseline all over its external sides.

Now push the plastic container in the cement mixture and fill water in it so that it stays at place and the weight of the water will keep exerting pressure to form a round cavity in it.
.

Let it set for a minimum of 24 hours. When the colour of the cement turns light grey, its ready to get demoulded.

Once dried completely, start tearing off the pringle can.

You can see how nicely you have got the base. Remove the plastic container also by pulling it out gently.

Using Sand Paper, smoothen out the rough sides.

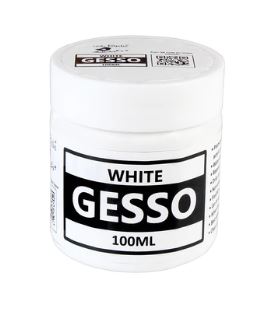
Apply Gesso all over it.

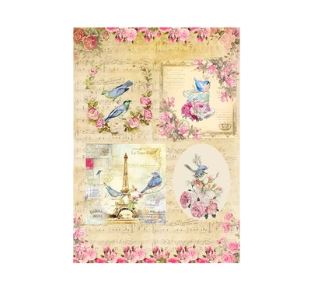
Choose a paper of your choice you want to use for decoupaging over it.

Adhere the paper with Decoupage Glue. Use the chalk paints to color outside and in the cavity.

Apply colour with a sponge.

Seal it with Decoupage Glue or any Varnish. Itsy Bitsy has lots of options to choose from its varied range of glues and varnishes. Whether you want a matt or glossy finish,its your choice.

I have used Chocolate Fudge Stone Texture Paste using a palette knife over the painted area.

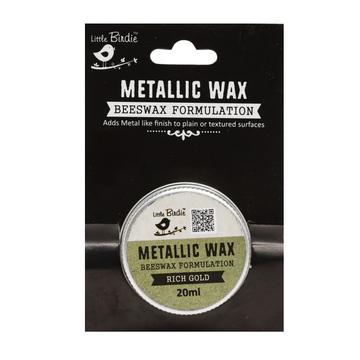
Rub over the Metallic Waxes on it to add extra shine and classy look.

And here is the finished outcome radiating light all around. Please scroll down for seeing more detailed pics from different angles. Material list is mentioned below too.


The Material List :

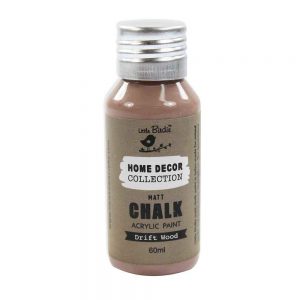

Thank you so much for stopping by!
Happy Crafting!
Luv, Meraj :)
Wow nice blog !!! Wholesale for artificial flowers, ceramics, glassware, wedding stuff, home decor etc, PM me if you are interested in anything, we promise you with quality, service and lovely prices :) Kindly visit our website
ReplyDeleteArtificial Flowers Wholesale Dealers
Artificial Flowers Wholesale in india
Artificial Flowers Wholesale Dealers in chennai
BArtificial Flowers Wholesale Suppliers in chennai
artificial flowers wholesale market in chennai
wholesale plastic flowers in chennai
wholesale artificial flowers manufacturers