Friday 24 January 2020

Acrylic Frame turns into a Customized Changeable Photo Frame!


Hello Friends!
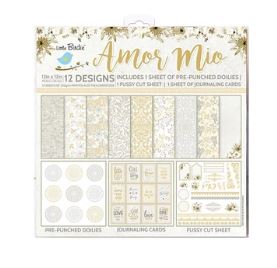
I hope you all are doing great! Today I am here on the blog with a new project of mine using the awesome Amor Mio Paper Pack. Itsy Bitsy has launched some new really amazingly beautiful paper packs with which you can create some awesome projects like albums, cards, tags, altered items and so on..the list is never-ending....just let your imagination go free and create :)

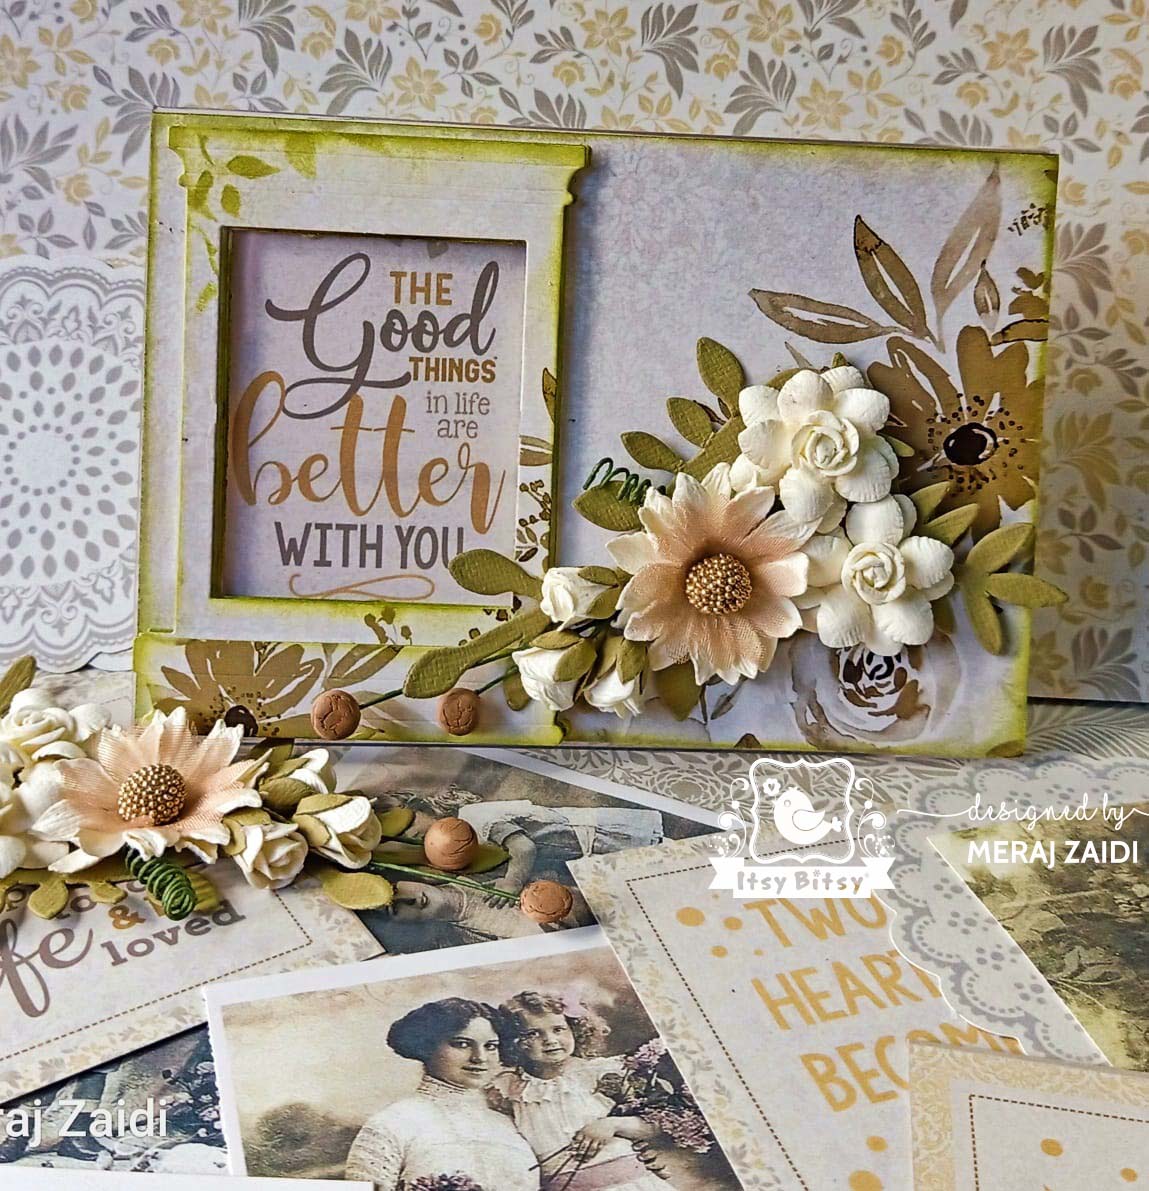
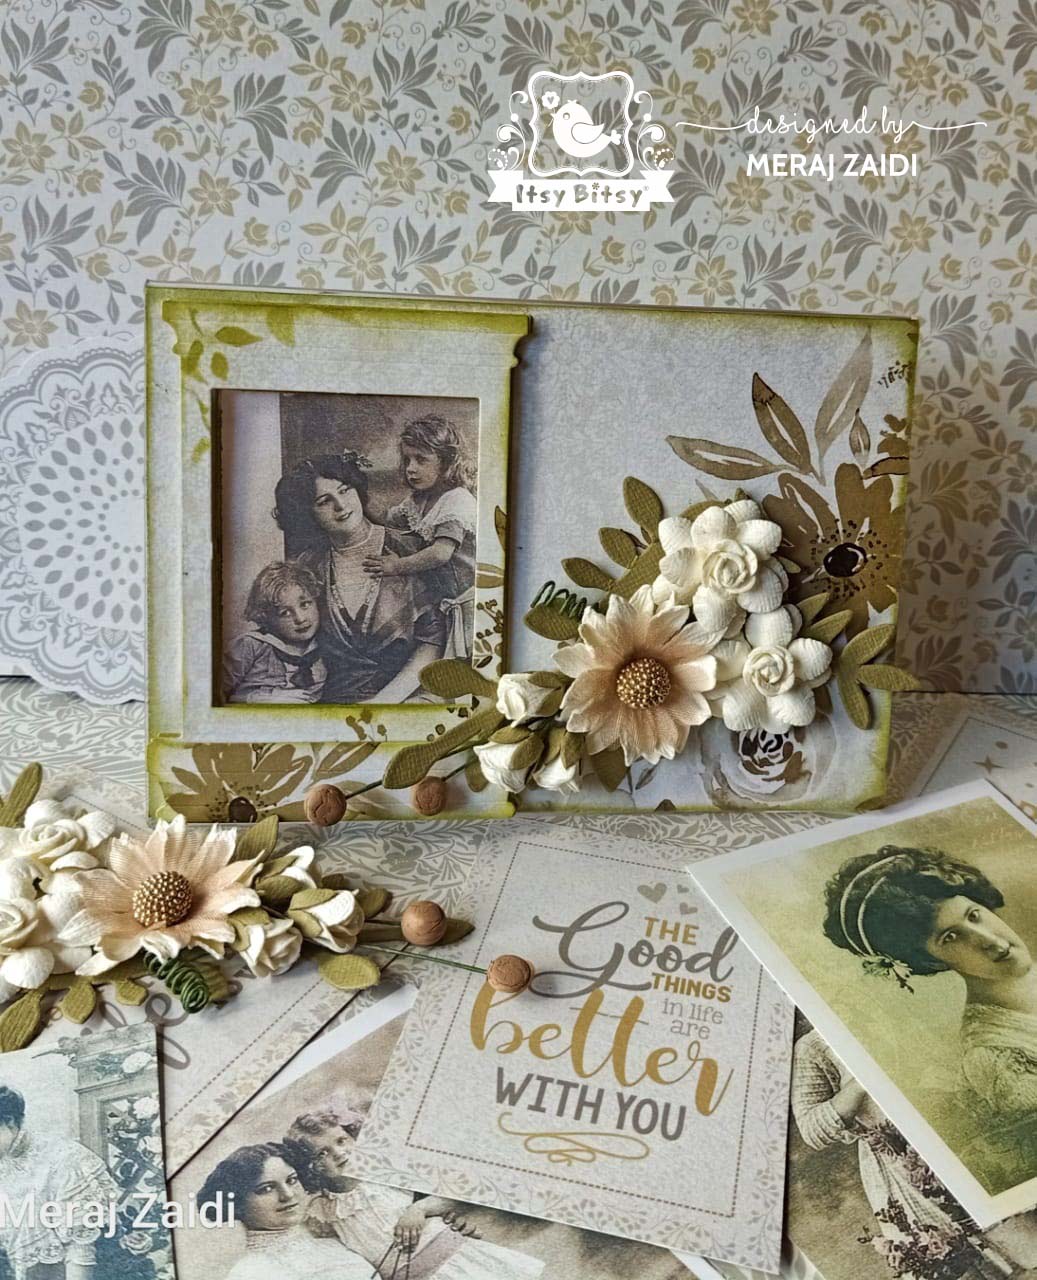
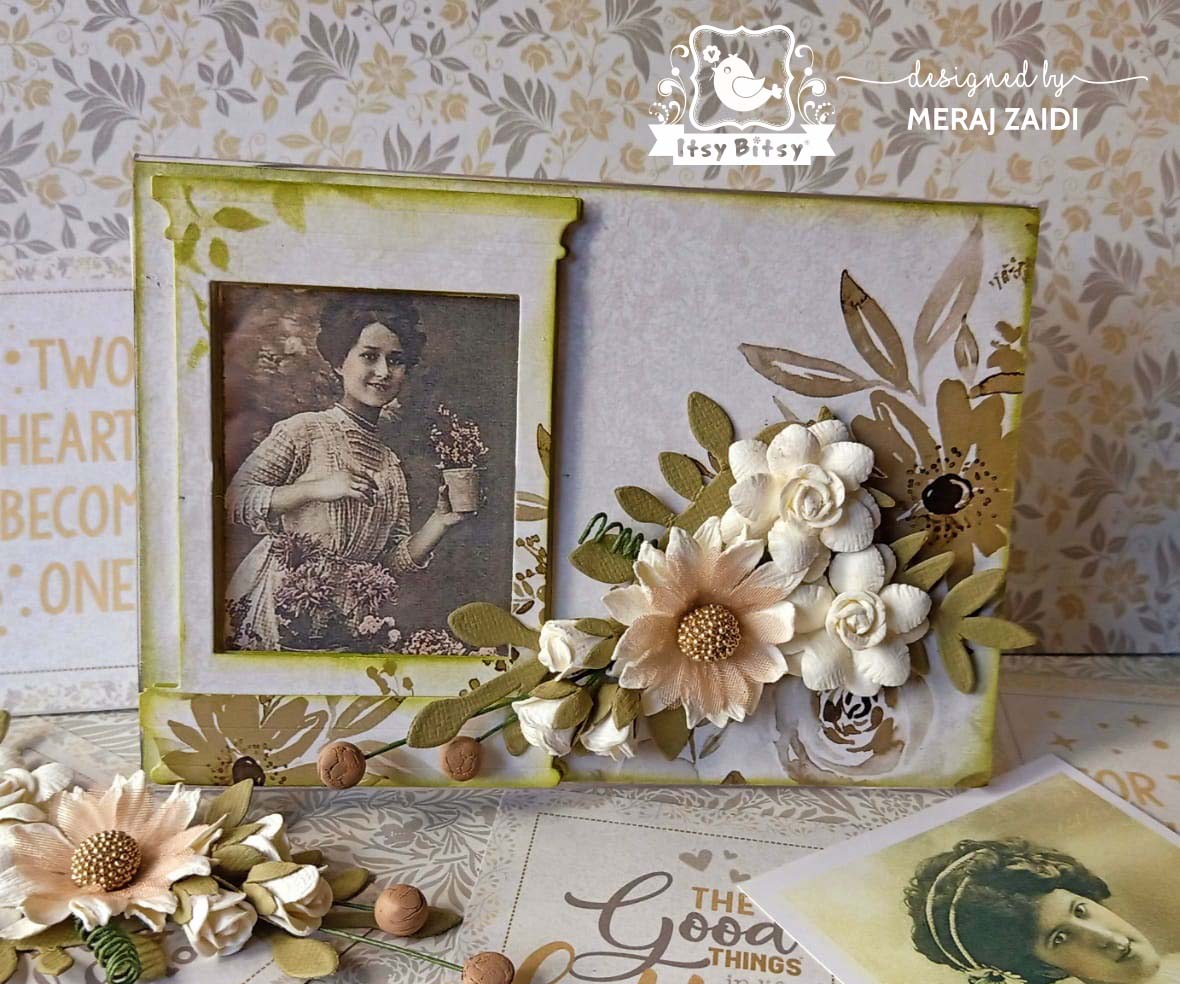
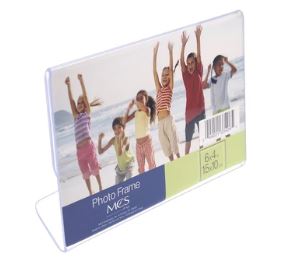
Here we go to create an altered customized photo frame where you can slide in and change the pictures, photographs, quotations, motivational sayings, etc. as many times to give it a new look again and again.

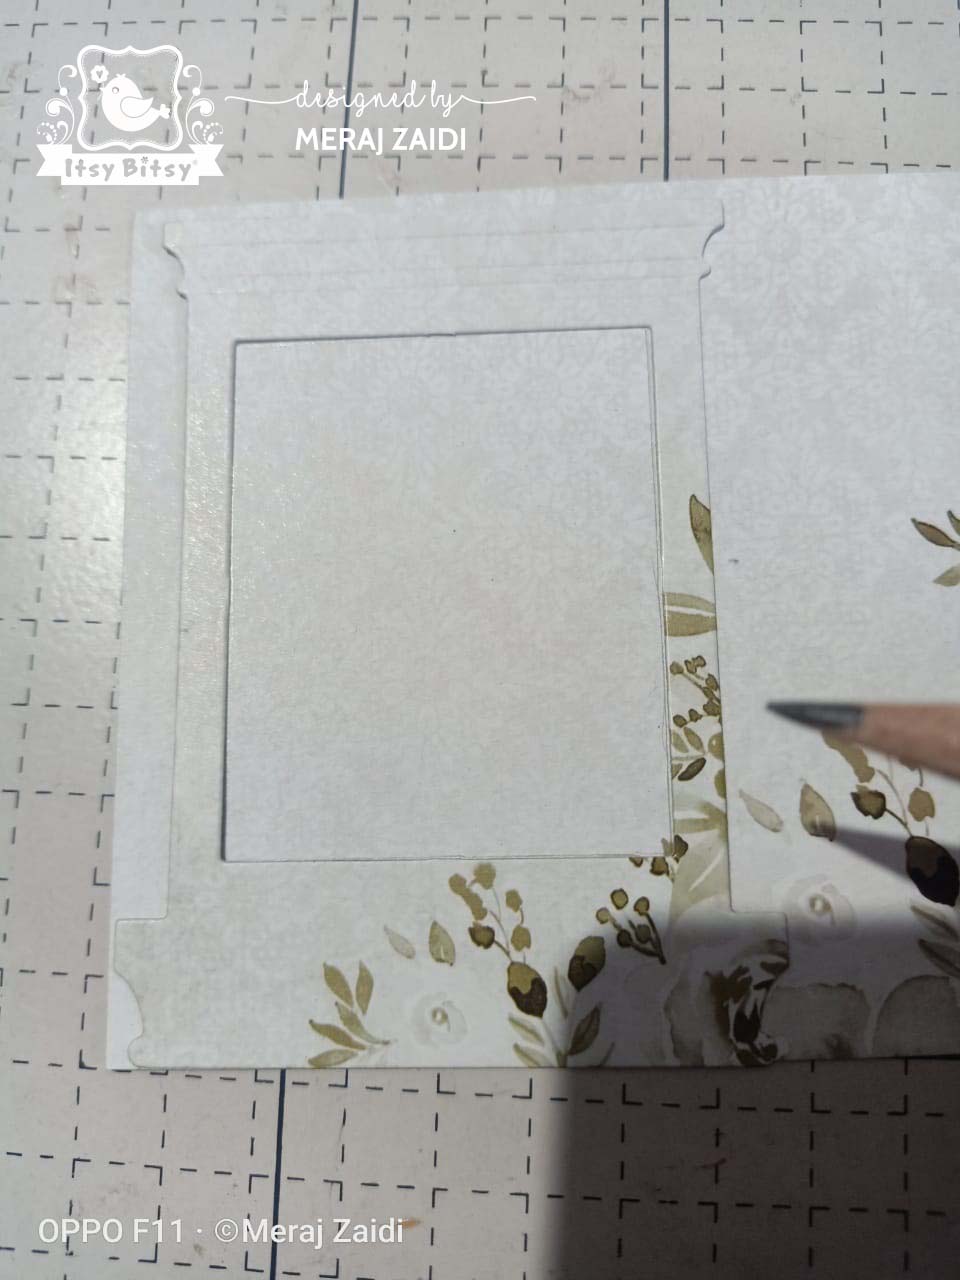
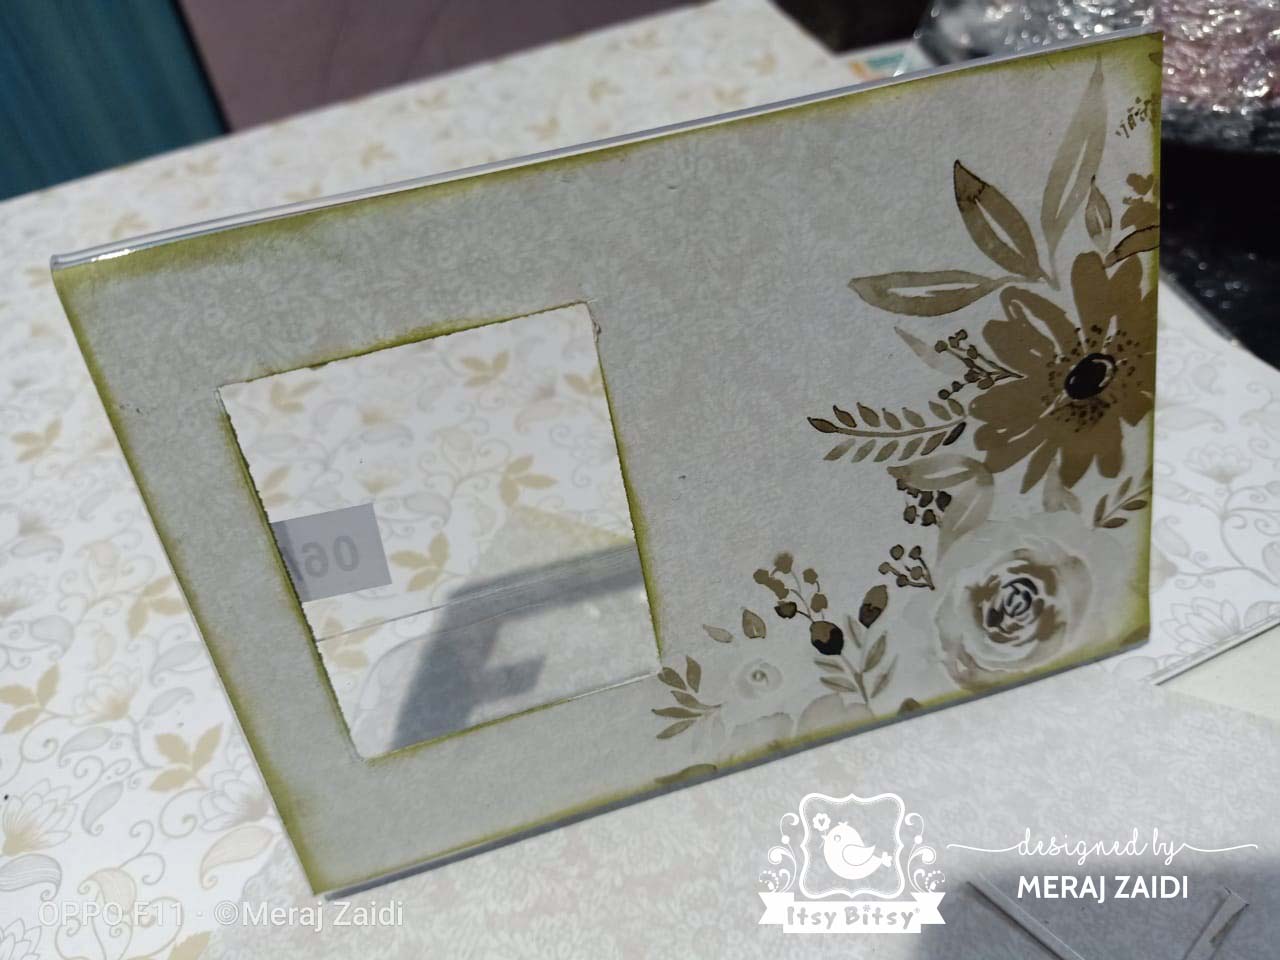
From Amor Mio paper pack I chose a floral sheet and cut it to the size of the acrylic frame 6"/4".


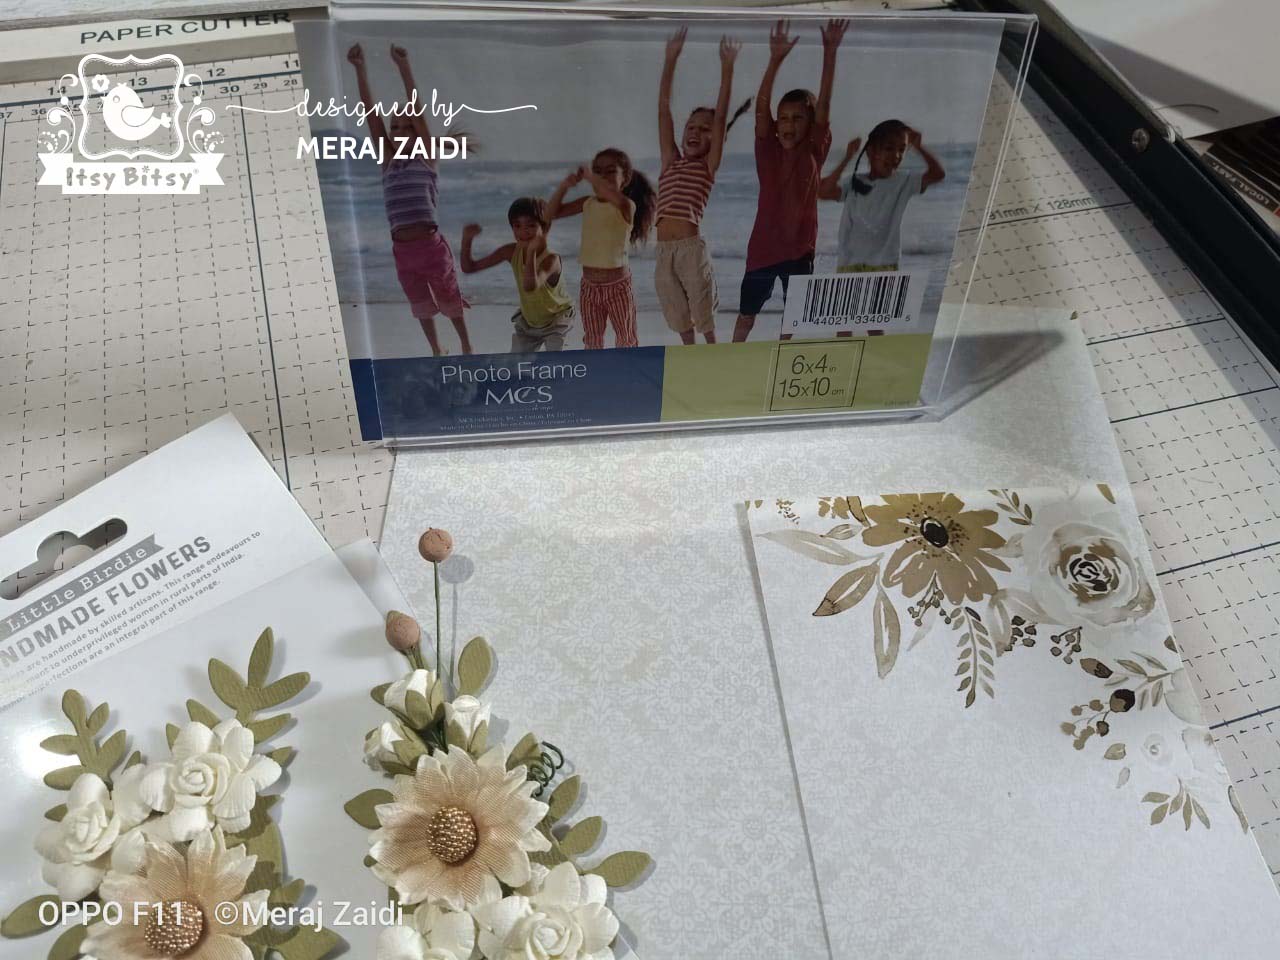
Here in the picture below you can see the paper is cut to the size of the acrylic frame.


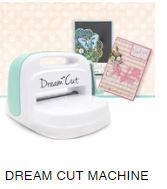
I chose the beautiful window dies and cut two pieces with it using the same paper pad. I recommend using the Little Birdie's Dream Cut Die cutting and embossing machine for smooth cutting.


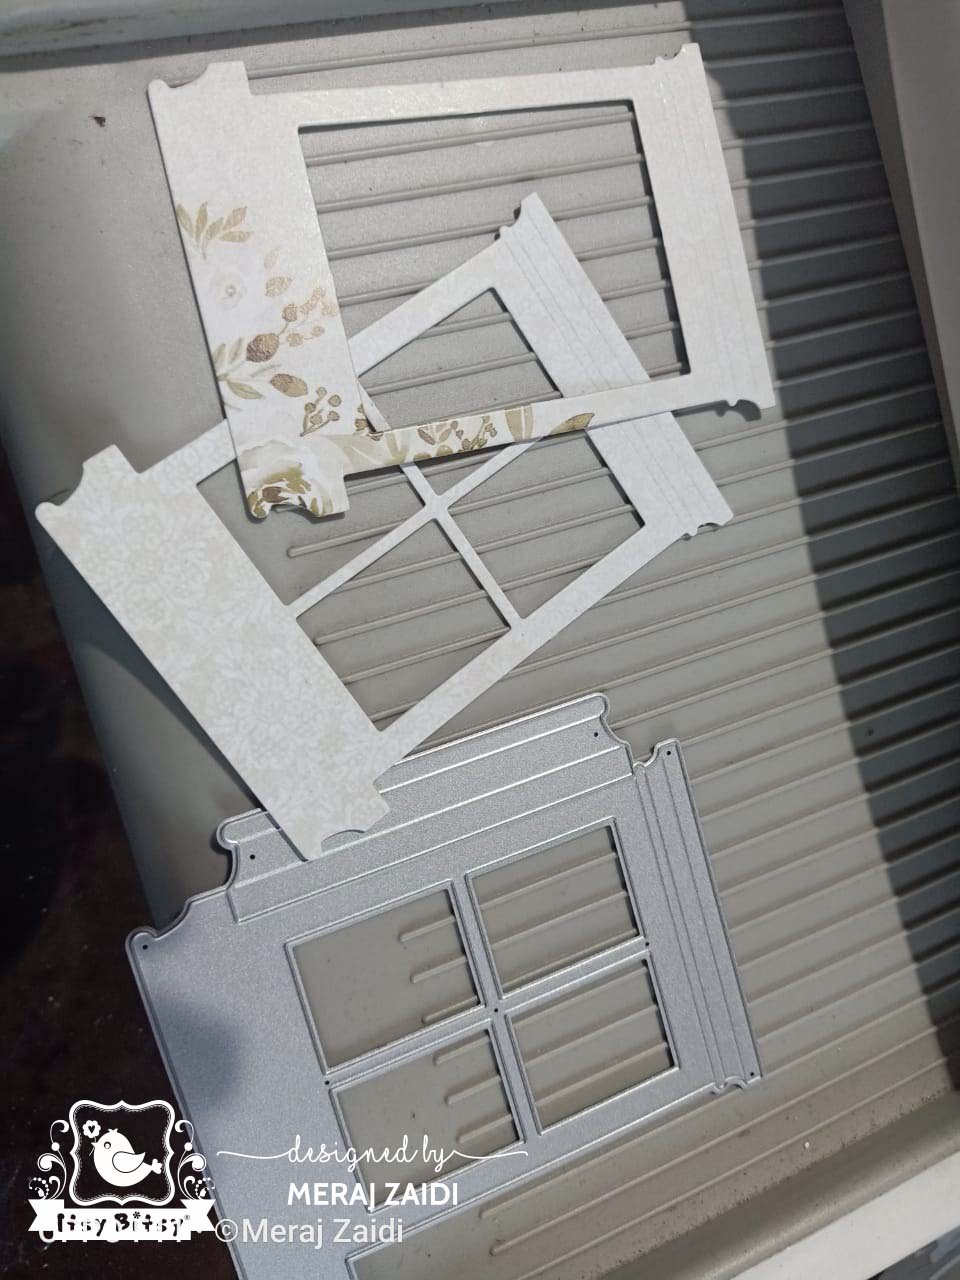
I cut the cross shaped grill design of the window with a scissor to make it an open window frame.

On the 6'/4' pre-cut paper, place the window die-cut on the left side and mark the inner side of it with a pencil
.

Remove the window diecut, and cut out the rectangle on the drawn lines.

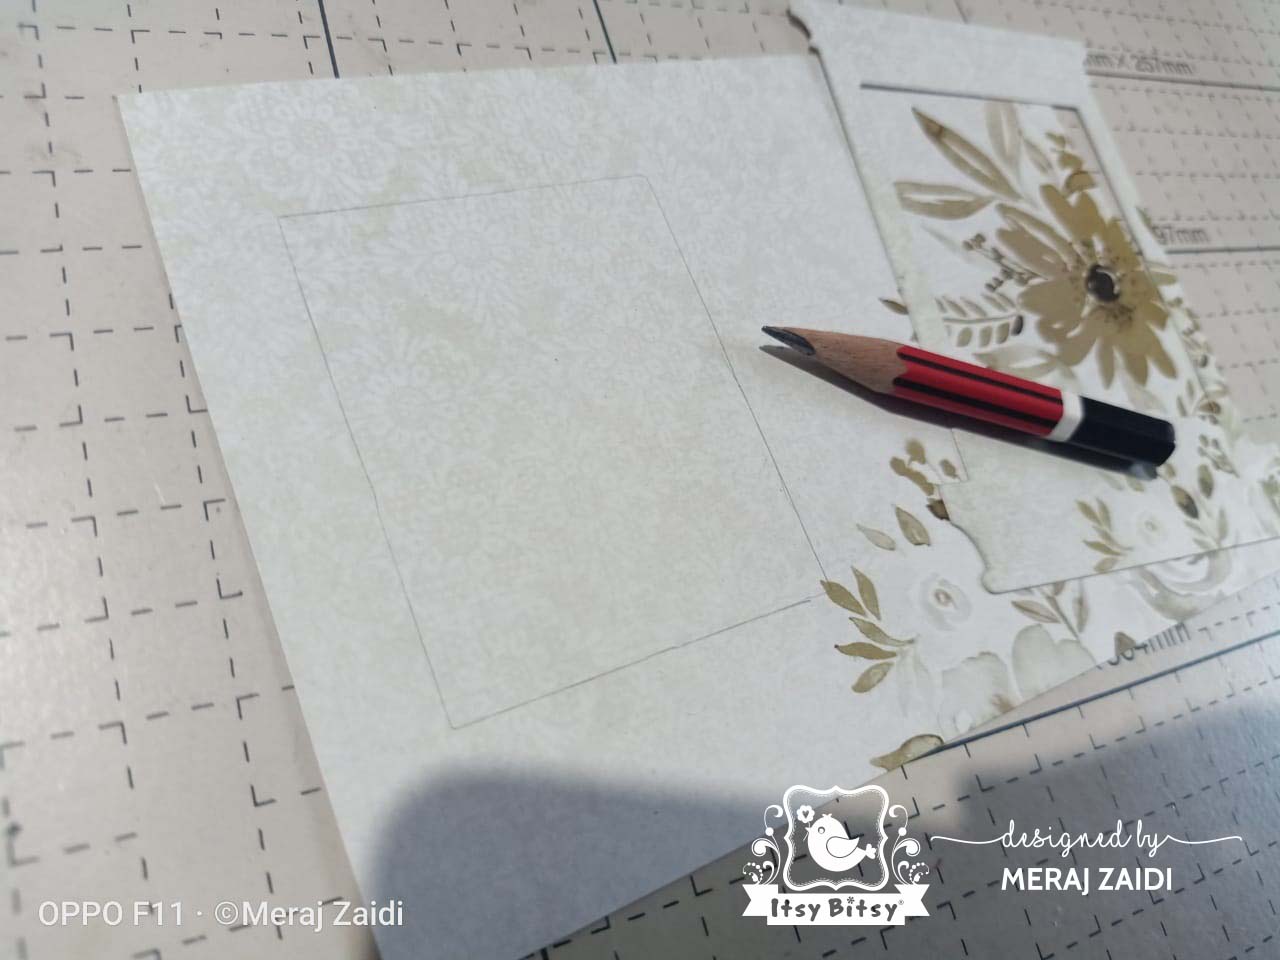
You will have a rectangular cut like this .

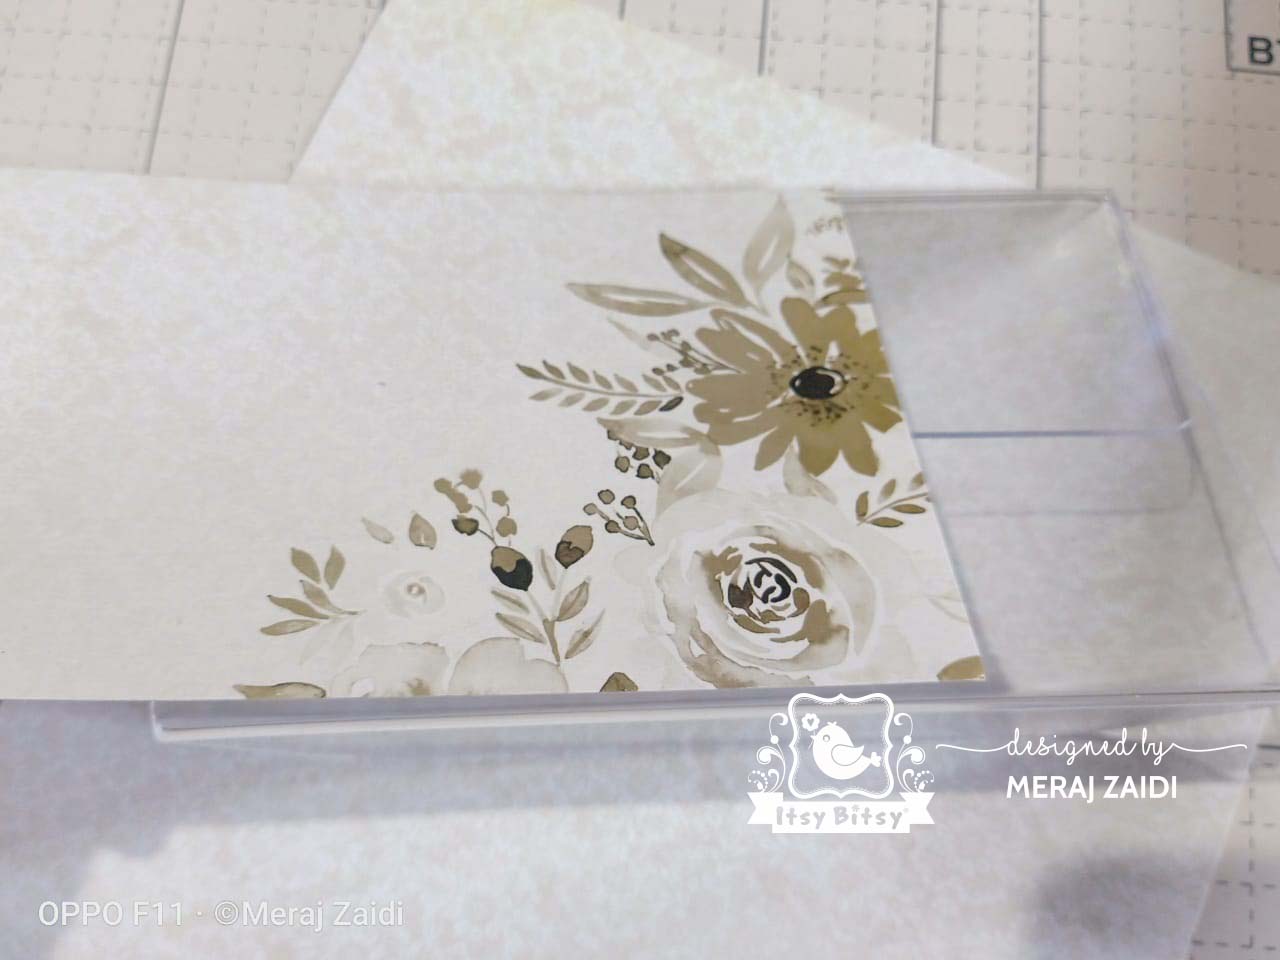
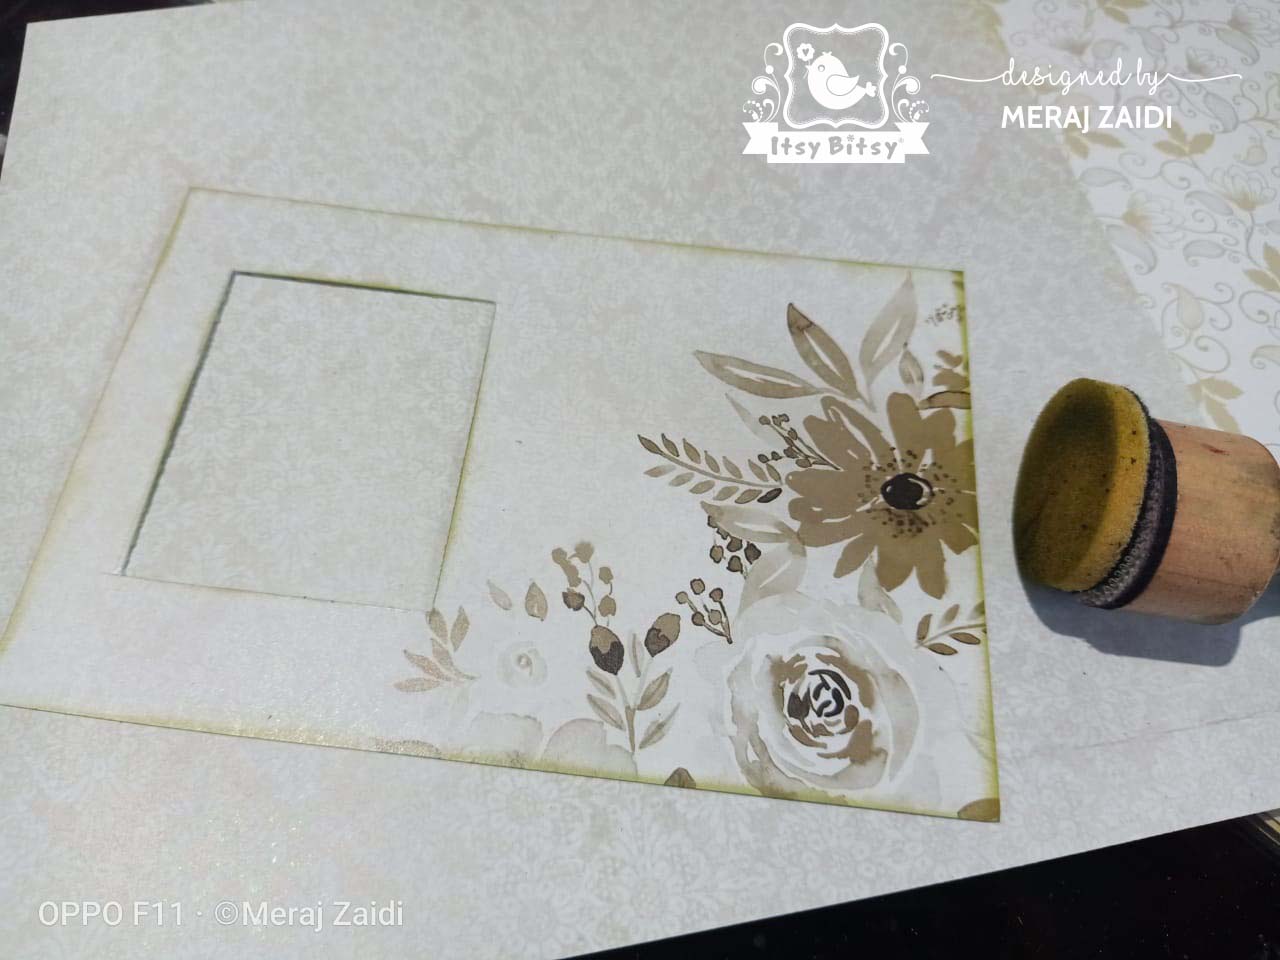
Using the Pigment Ink, ink up all the edges with foam or dauber.

Using craft glue, adhere the paper on the acrylic frame.

Now adhere one window die-cut over the open part, align it well.

Take another window die-cut and on its back adhere some double-sided tape or glue foam dots.

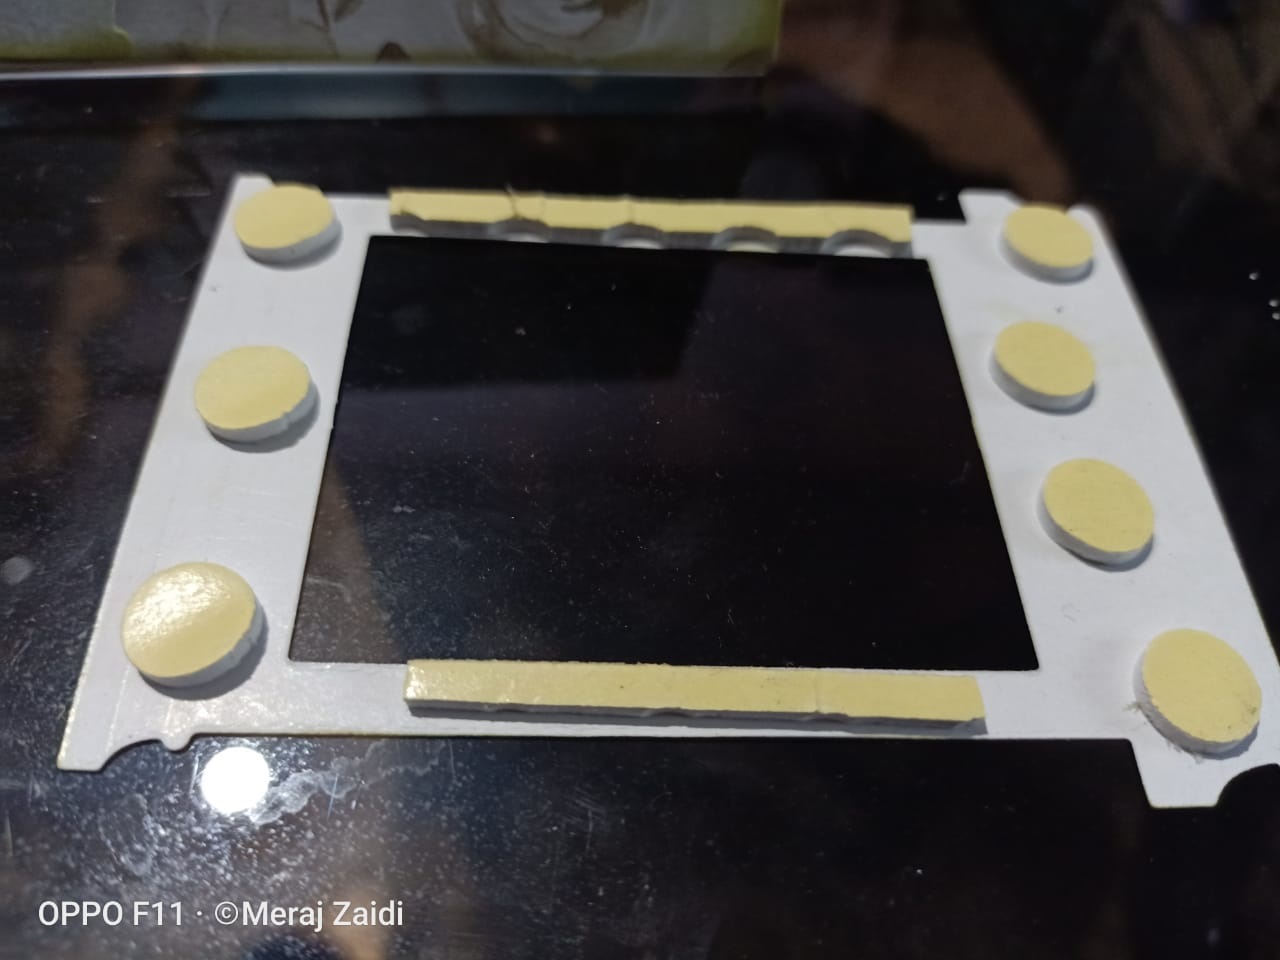
Stick it over the previous diecut of the window. It will give a raised effect to the window.
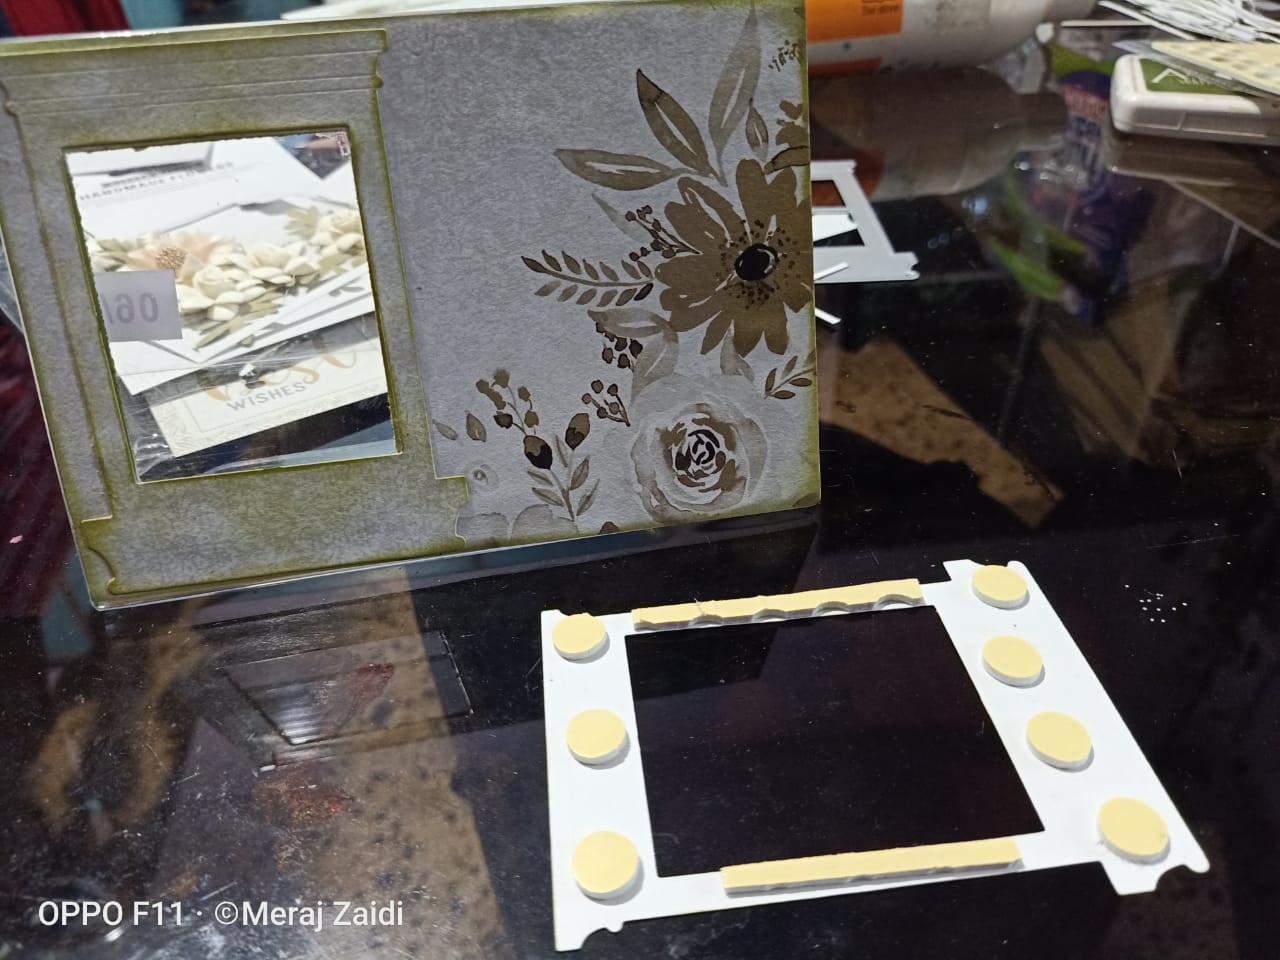
Like this...


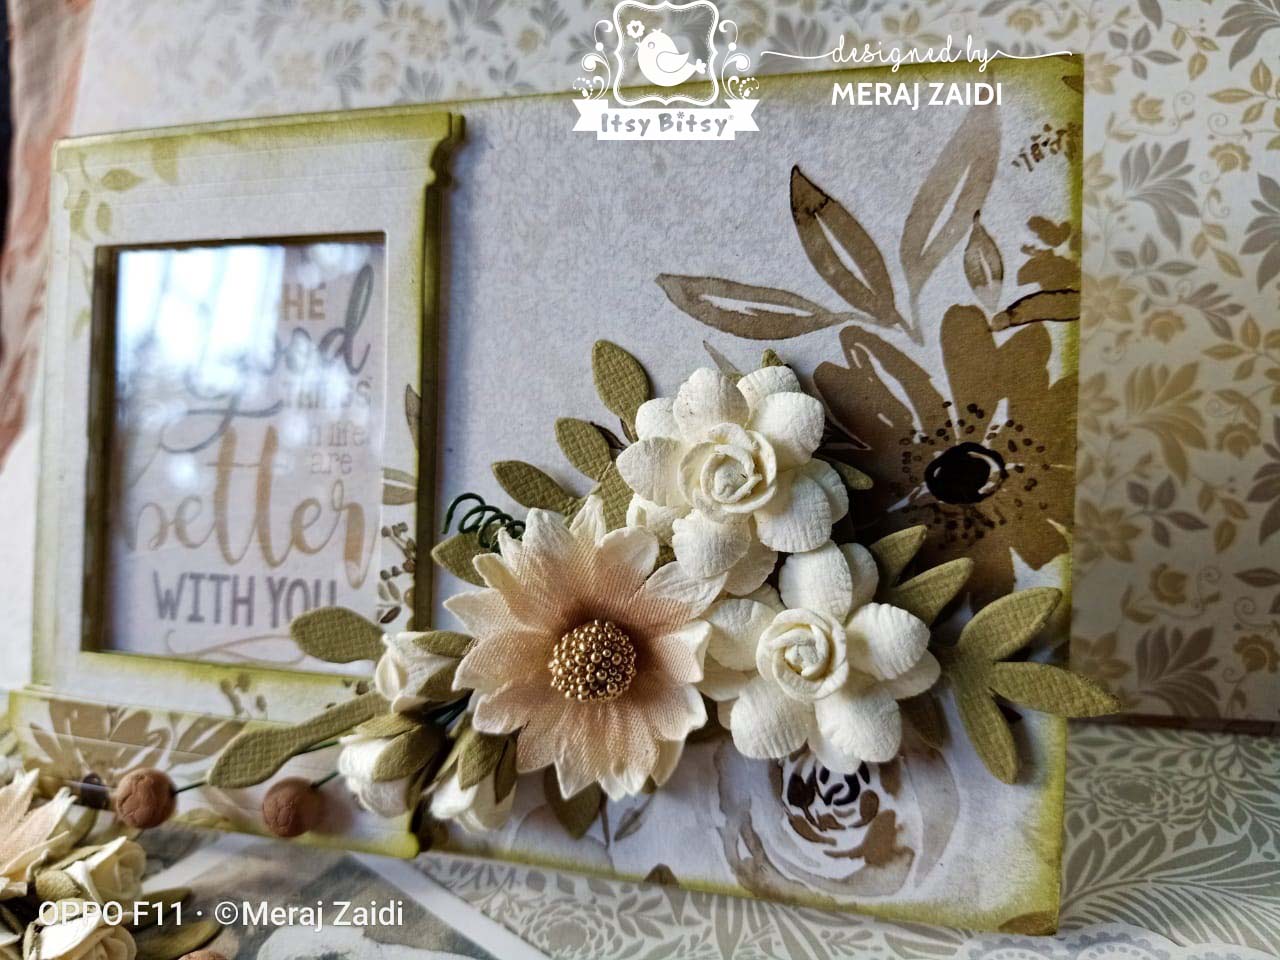
Do little stamping on the upper left side of the window. Adhere  the beautiful flower bunch on the right side
.


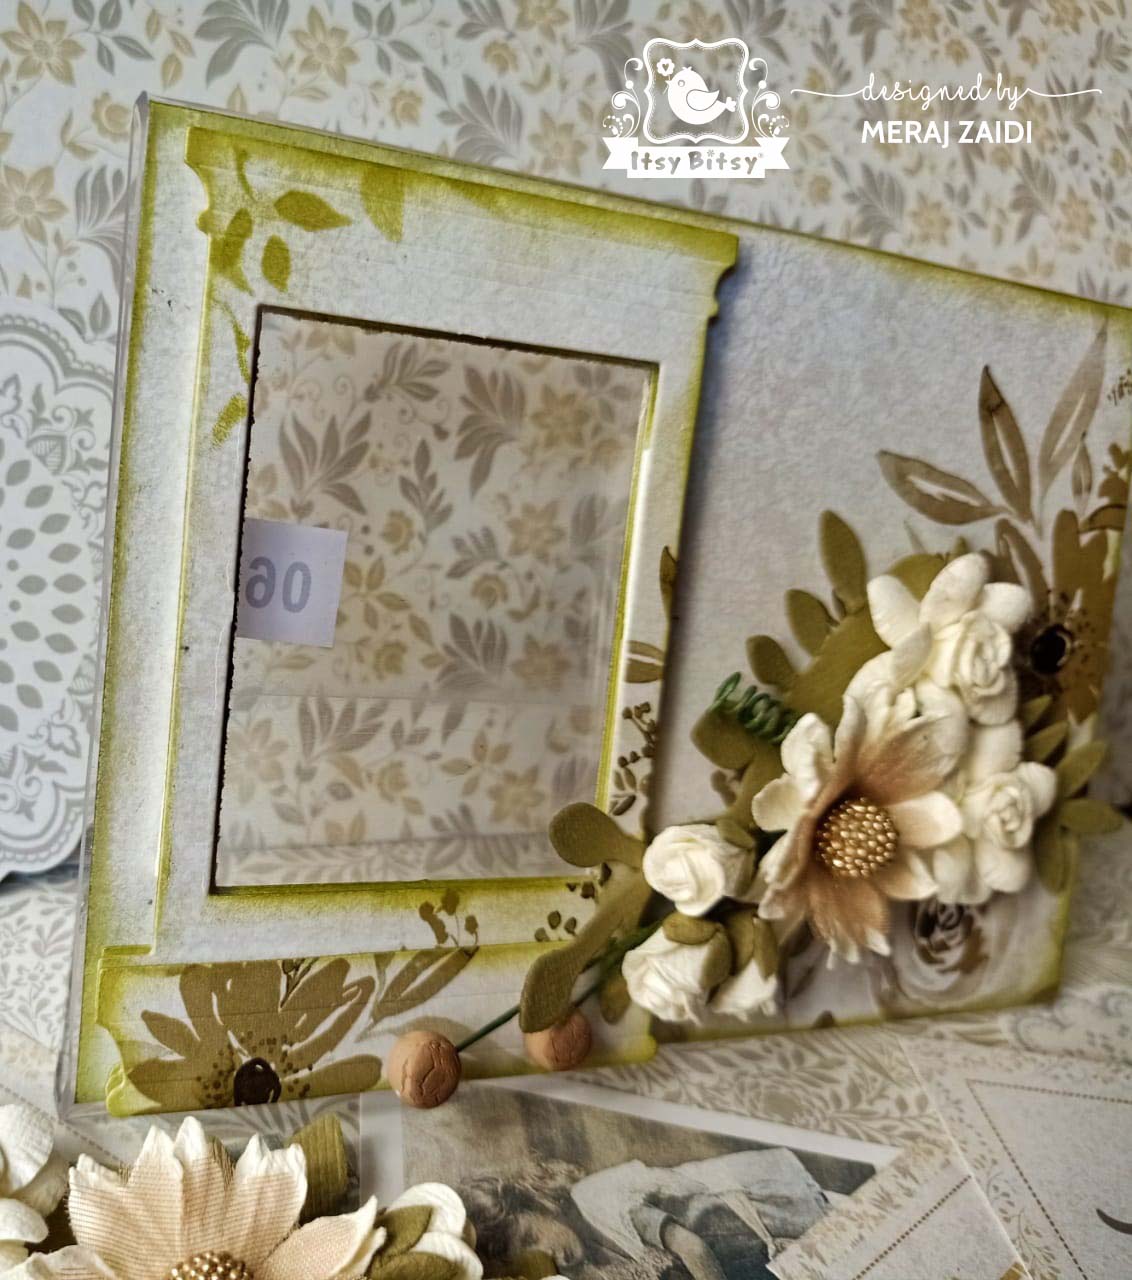
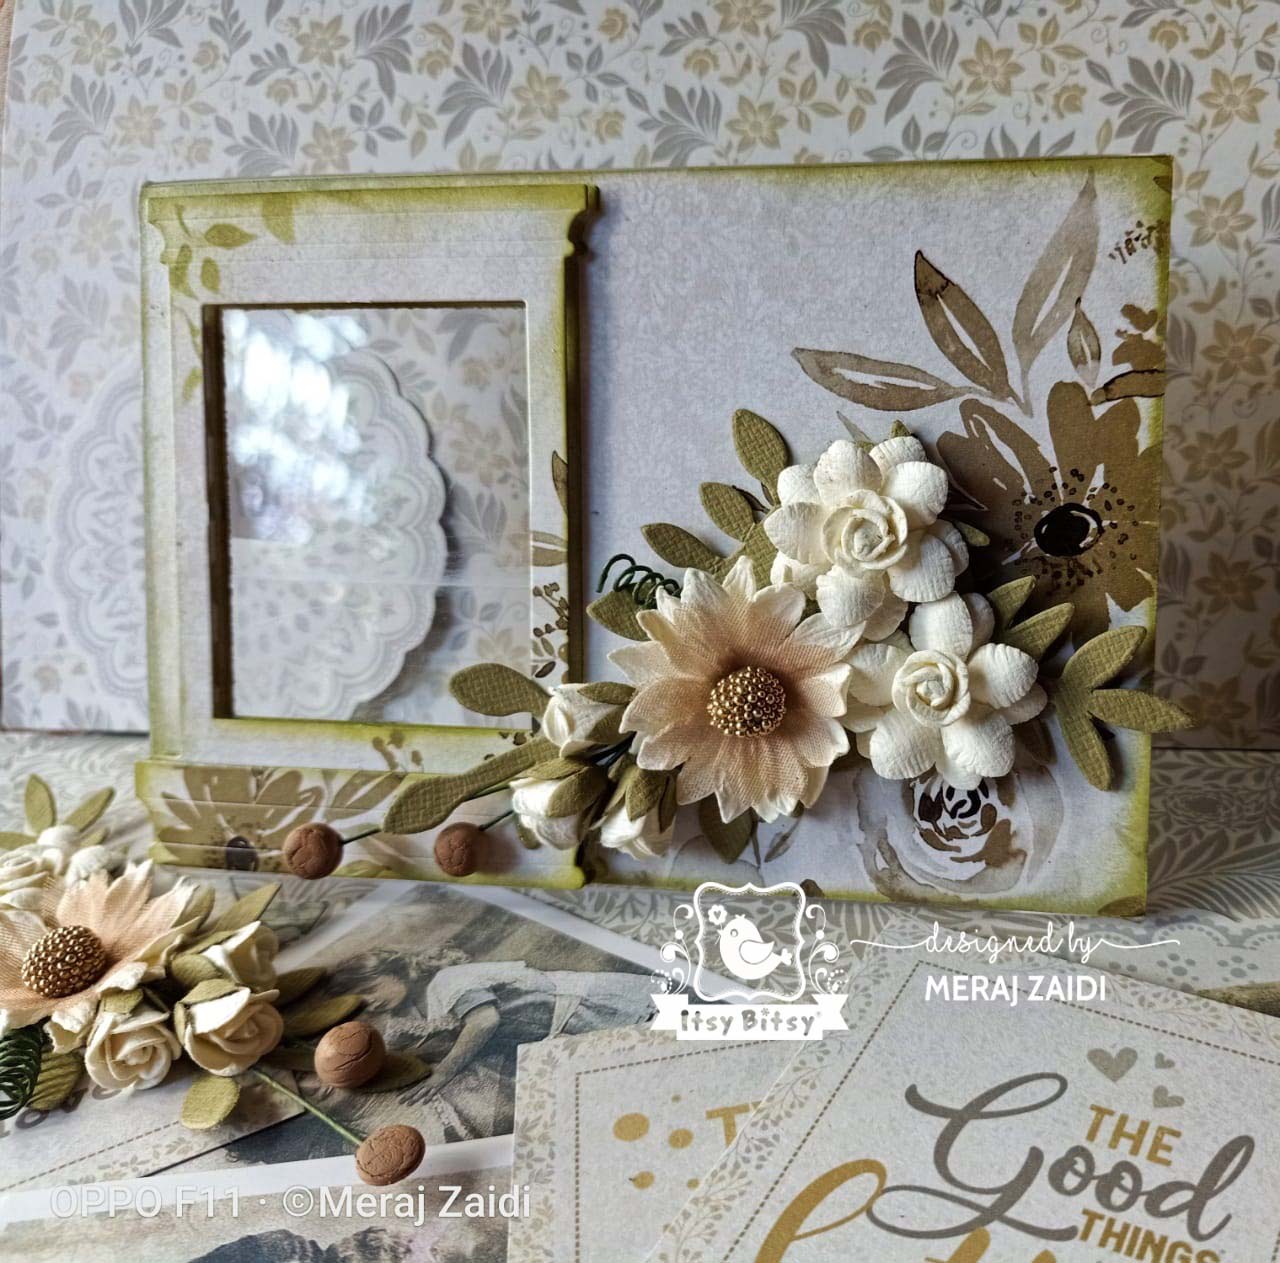
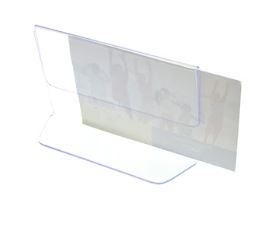
Your frame is ready now to keep on changing as many pics as u like just by sliding in from behind.


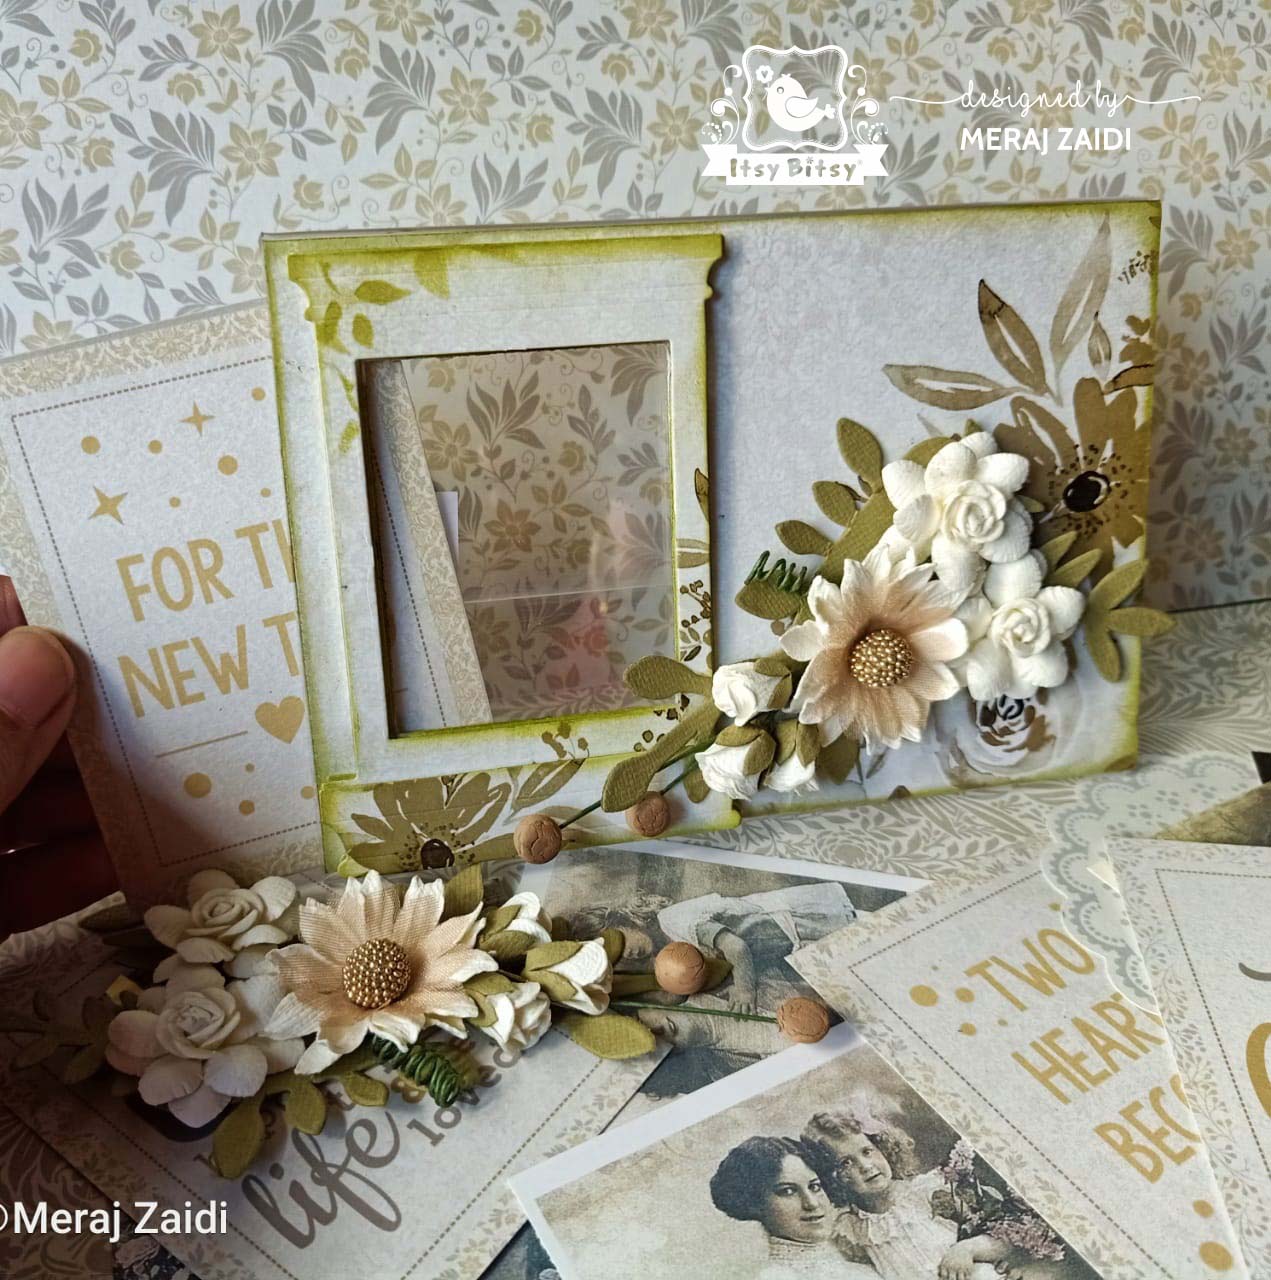
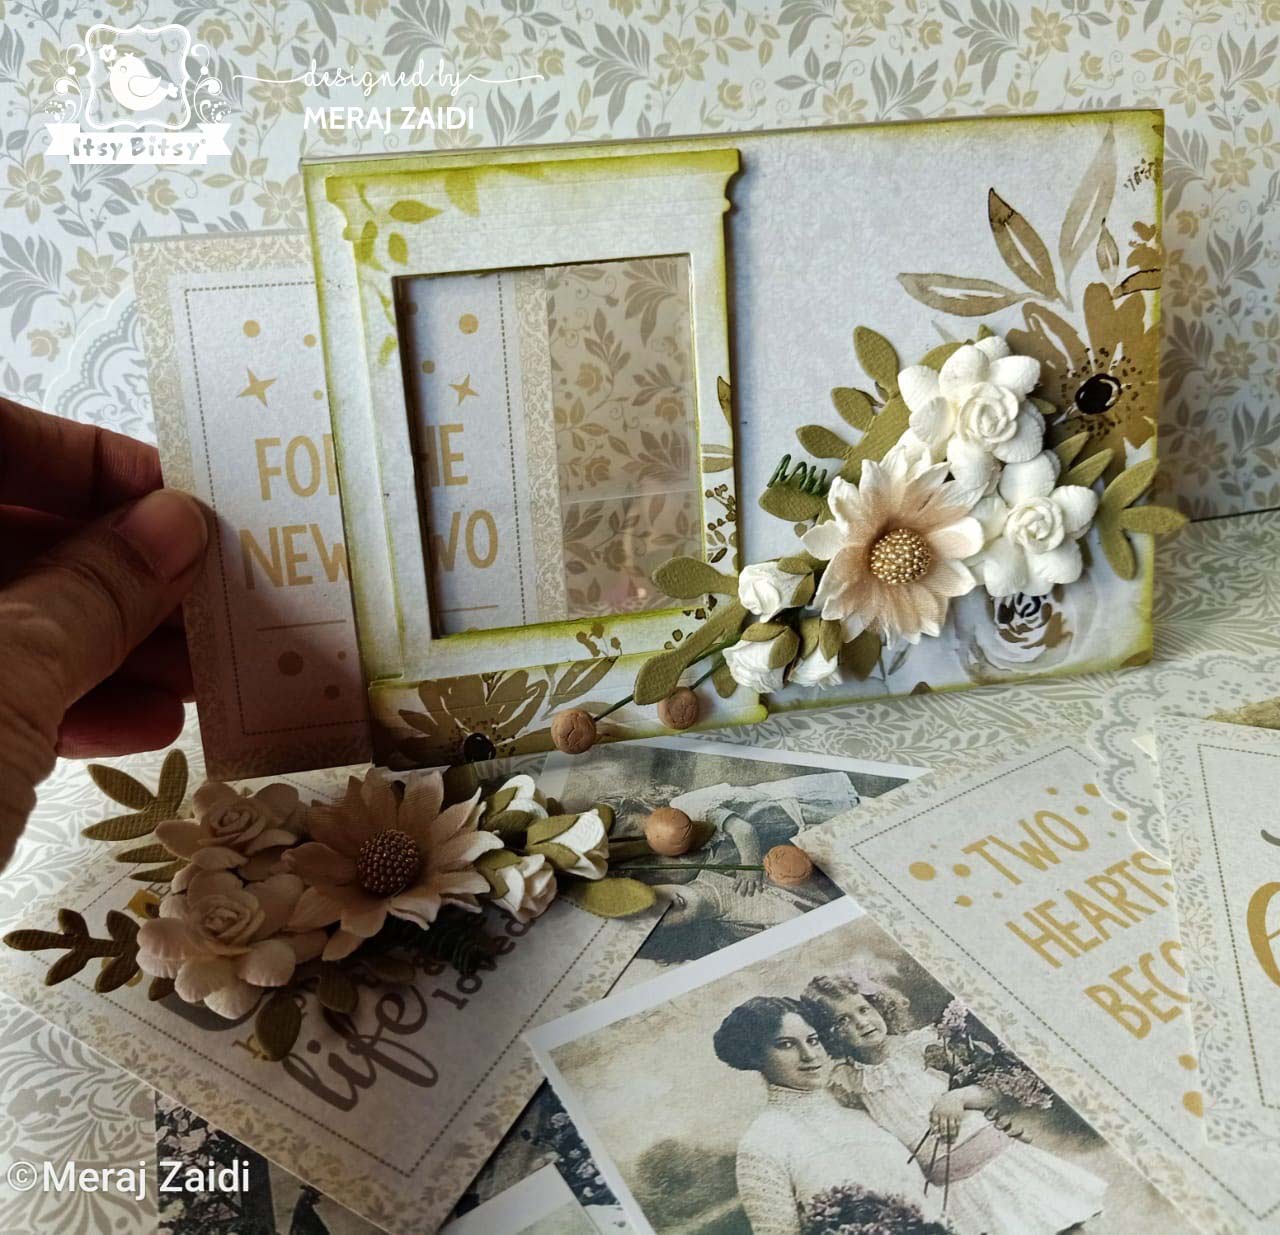
You can use quotations,motivational quotes etc. and keep changing with utmost ease giving it a new look every time :)


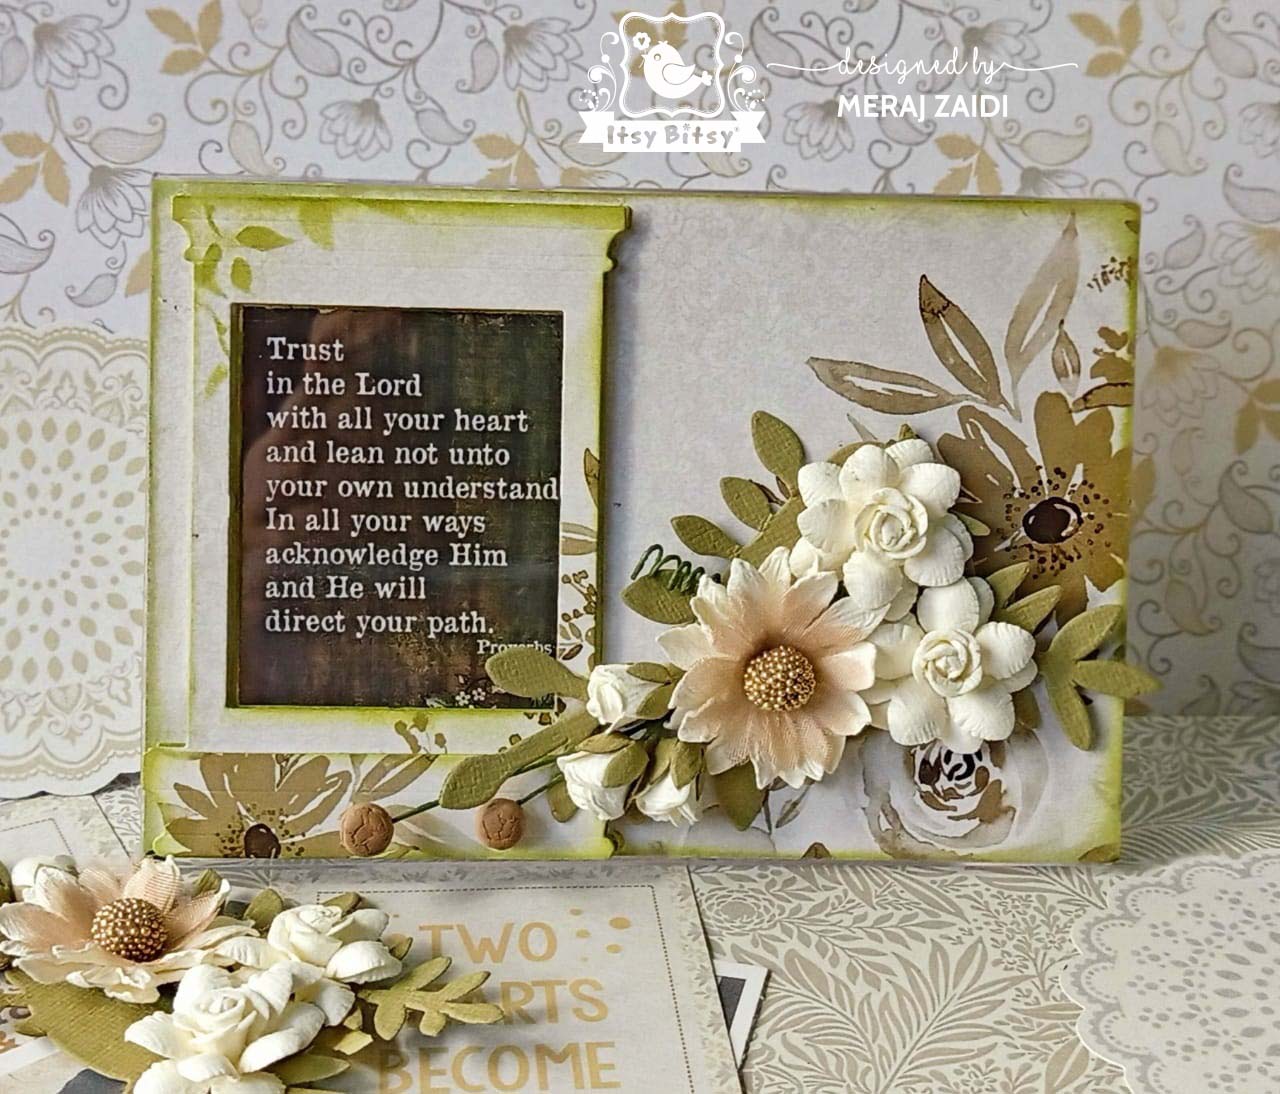
Hope you enjoyed this simple yet innovative creation that can add to the beauty of your home decor.
Do participate in the ongoing challenge and share your creativity with us :)
Below is the list of material been used.


Thank u so much for stopping by....Happy crafting :)
Luv, Meraj :)

Tuesday 7 January 2020

Glass to Copper, A Magical Conversion!


Hello my Crafty Friends!
Meraj here!
Here's wishing you all a very very Happy New Year filled with all the joys and smiles :)

Today I am sharing  here  a creation where you can convert a glass object to a copper looking one just by using the awesome Chalk Paints with some other basic supplies and paints.


Hope you liked the above finished pics of the glass bowl being converted with the looks of a copper bowl. Below is the step by step picture tutorial for the same.
Take any glass container of your choice. Itsy Bitsy's physical stores have beautiful shapes and designs to choose from. I chose this one.


Apply two coats of snow chalk paints on the inside and outside of the glass bowl. Let the paint dry.


Take the silicone mould and use either Thai Clay or any other light weight air dry clay which can be shaped according to the curves of the object where it needs to be used on. Itsy Bitsy has variety of clays to choose https://itsybitsy.in/search?type=product&q=clay


Before the clay dries up, mould it  and let it take the shape of the desired surface and let it dry. Here in this step I have not yet adhered it,only placed them over the bowl so that the clay can take on the shape of the curves.


Now apply some watered down 2 in 1 Slate Gesso. Its better if you give, 2, 3 coats of it using a sponge.


Now dab on some Fired Brick Metallic paint over it. This will start giving it a copperish look.


After the moulded clay dries up and becomes hard and stiff, colour it with watered down Slate Gesso.


Start adhering these clay pieces using Soft Gel as glueing medium.


Make a mixture of Rainy Day and Charcoal Chalk Paint, apply it over the adhered clay pieces and inside of the glass bowl too.


Again dab on the Fired Brick metallic paint all over the bowl with a sponge.


Start highlighting the moulded clay pieces using Glimmer Moss metallic wax. Keep on dabbing the fired brick metallic paint alternatively with the metallic wax until you get the desired result. Use it as a planter, a candle holder, or just as a decorative piece by itself, the choice is yours!


Hope you liked this creation :) Do participate and share your creations with us at the ongoing challenge.


Below is the list of material used :


Thank you so much for stopping by. See you soon with another creation of mine...until then Happy Crafting :)
Luv, Meraj Zaidi