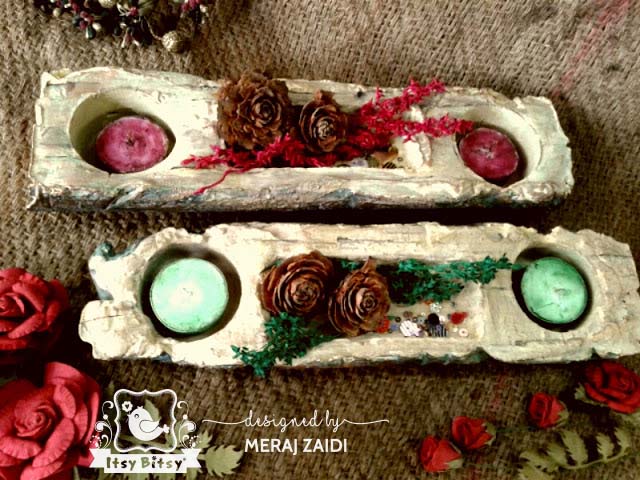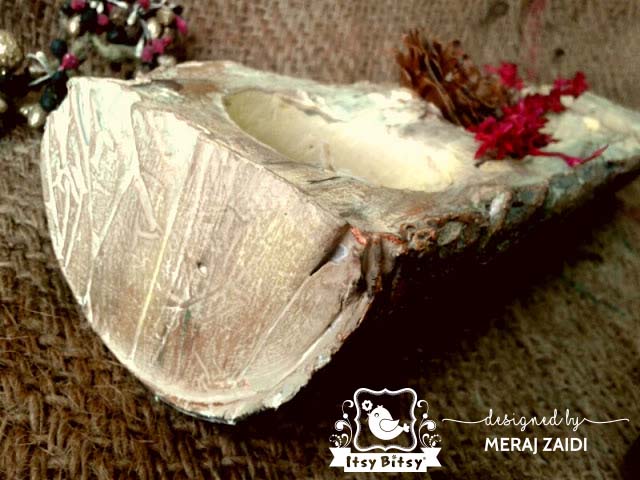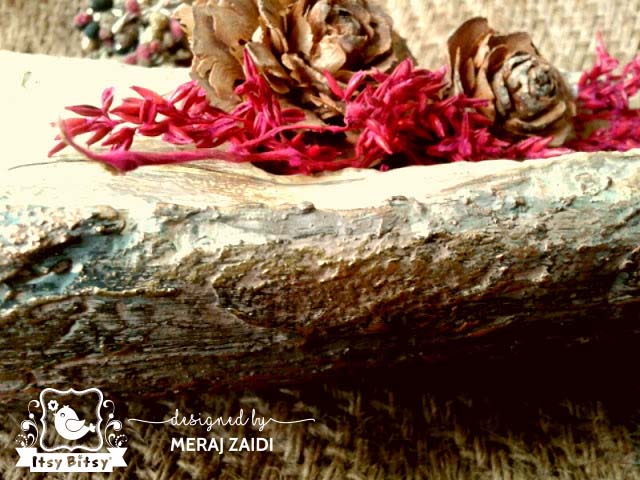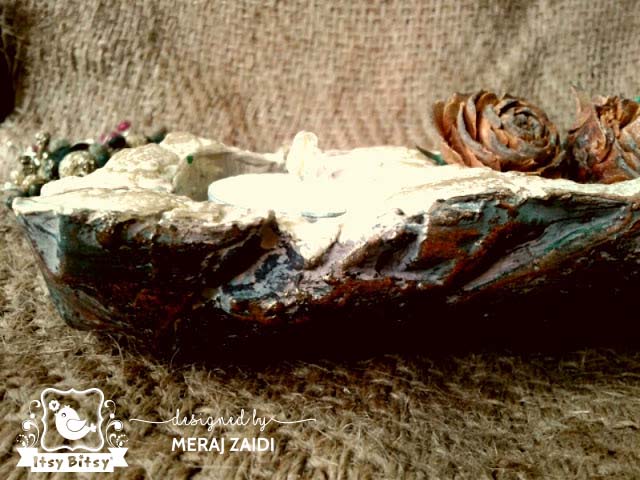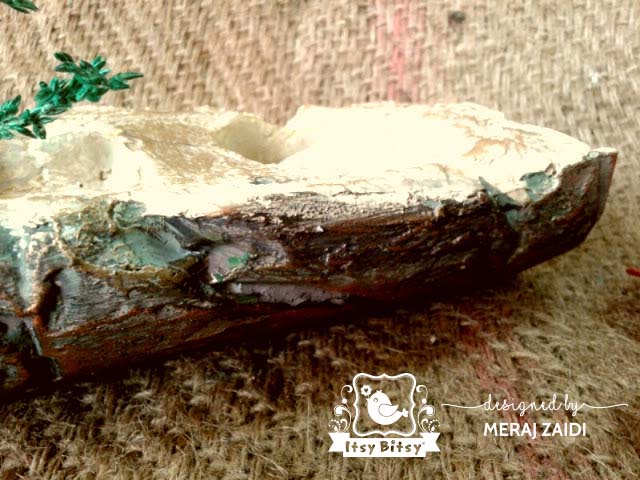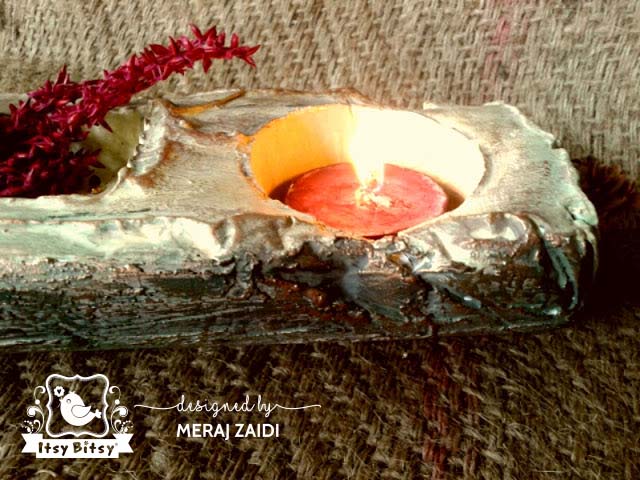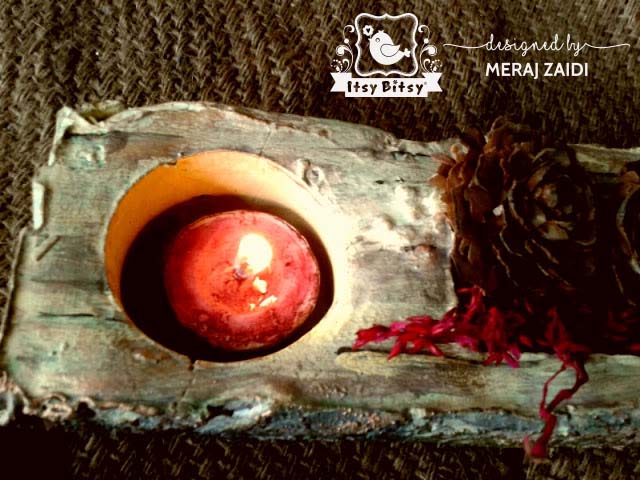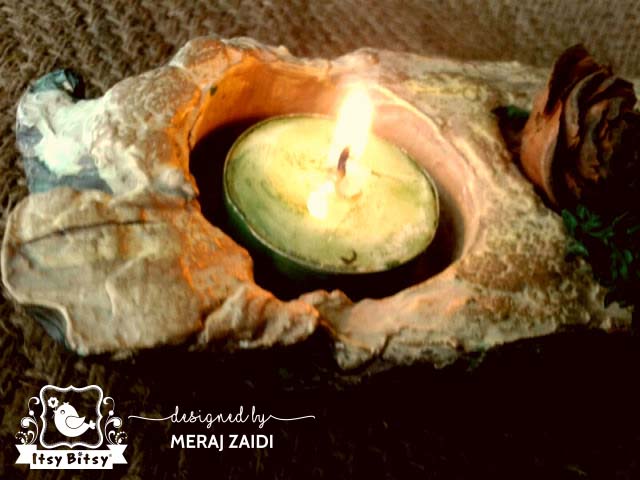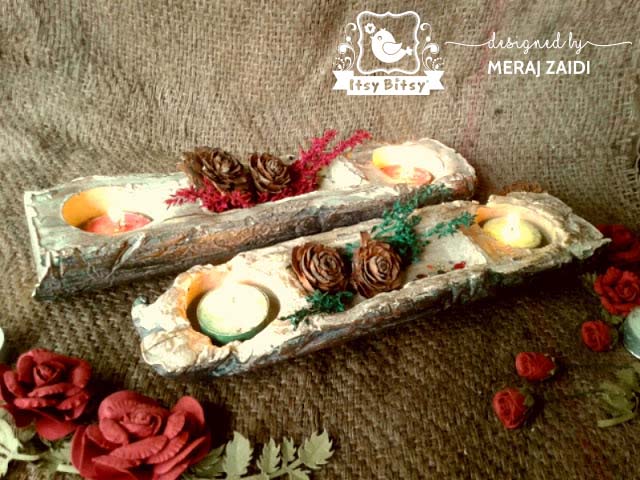
THE STORY OF CREATION OF FAUX TREE BARK CANDLE HOLDER
Inspired by the immediate and the ultimate Beloved, I try and create things.
While creating this Faux Tree Bark Candle Holder, I had to live 24 x 7 (in my mind) as a tree bark. In all kinds of weathers, climates and seasons, continuously imagining of a tree bark, as to how it would feel. When there is a strong sun, and not a single drop of water is falling on the stem or trunk or the branch of the tree, or no wind blowing, in this moment, the bark is calm, still and in a deep sorrow, or when it’s drizzling, the little cold drops of water rolling down on its surface, caressing the bark, changing its mood and giving it a feeling of joy, and when lovely breeze passes through the leaves of a tree and the leaves rebound the wind to the stem, drying it slowly, how it would feel. And, when a peacock after dancing, flies and slowly lands on one of the branches of the tree, what would be the mood of the bark. I too live in the same state as if I am nothing but just a tree bark.
While creating, I forgot who I was! I penetrated deep into the core of the bark and became one with it and then, when I was giving the finishing strokes of my brush on my creation, I gradually came back and a part of my soul remained there, deep in the core of my creation.
This Faux Tree Bark Candle Holder certainly has a totally different quality, which no other machine made product can ever be.
The machine made products can be beautiful, but without the soul. This Bark candle holder is alive because it has the soul of the real bark in all its moods, feelings of agony and ecstasy, sadness and happiness, joy and sorrow of all the seasons. Its richness is abundant, the abundance of Nature!
A very warm Hello to all my crafty friends from Meraj.
I am so happy and excited to share my first creative post with you all as DT of Itsy Bitsy along with the announcement of the new Blog Challenge.
Who doesn't want to have a beautiful unique piece to either adorn a house or give as a gift to our special someone.Nothing can compare to a handmade creation that carries a part of us in it. You guessed it right! The theme for this month's blog challenge is Home Decor.
There are so many creative ideas that you can implement using Little Birdie's awesome products. Since its such a versatile theme and there is so much to play with your imagination. I am bringing here a home decor project made from scratch to finish, to inspire and motivate you. I derive my inspiration from every little thing Almighty has created and the idea for this creation came to me when I kept looking at the beautiful rustic tree bark and wondered if I can try creating something close to it and yet with a utility purpose! And here is the outcome of the idea being transformed into a physical form....a Tealight Candle Holder in a Faux Tree Bark !
The post may be long but I have tried to cover all step by step pictures in the process of making it. I hope you like it and do participate in this month's Blog Challenge to give a creative boost to your imaginative ideas.
Kindly go through the guidelines to participate in the
Itsy Bitsy Blog Challenge #23
Submissions can be any project featuring the Home Decor theme.
- Turn off word verification to enable us to leave comments
- Entries can be submitted until 15th August , 2019.
- In order to submit your entry, click on the inlinkz button provided at the end of this post, add your image and link to your blog post containing the submission.
- Each participant can submit a maximum of 3 entries. Please append numbers 1, 2, 3 next to your name while submitting multiple entries
- Please link your creations to your post and not just your blog
- In your blog post, create a back-link to this page
- Only projects posted during the valid challenge period are eligible. Backlinks or old projects are not allowed. Please link the creations posted only after our challenge has gone live.
- Entries are welcome from all over the world. However, if you are the winner, we can only ship your prize to an Indian address.
- If you don’t have a blog and want to add your creation on Facebook, please upload it on our FB group Itsy Bitsy Crafter’s Cafe with the hashtag – #itsybitsyblogchallenge23 and add the link here.
- When sharing your work via Facebook or Instagram, please make sure that your profile is PUBLIC, else we will not be able to view your entry and it will be disqualified.
- The top 2 entries will be selected by the DT. Each winner will receive a voucher of Rs.500, redeemable online at www.itsybitsy.in.
- For participating in the Challenge you have time from July 15th, 2019 to August 15th , 2019 .
- If you have not subscribed to our blog kindly subscribe with your name and email id.
Home Decor
https://itsybitsy.in/collections/diy-home-decor
Let's start with the step by step procedure in the making of this Faux Tree Bark Candle Holder !
Take any cylindrical shaped hollow cardboard container eg. an empty box of Pringles that has a removable lid on one side. I took a waste empty cardboard cylindrical box measuring 12" in length and 3" in diameter.
Cut over those marked lines with a sharp knife or a cutter.
After cutting it will look like this.
This side of the removable lid is open.
Apply glue and stick the lid on the open side as shown in the picture. The mould is ready now.
Cover it with a plastic sheet allowing it to take the shape of the container mould.
Mix Little Birdie Craft Cement with water in a peanut butter-like consistency. For this project you will need approximately 1000 gms of cement powder.
Craft Cement is one of the most versatile products which can be used to create just anything that your imaginative mind can conceive. Any creative idea can be transformed into a wonderful base to work upon. It is sturdy, long lasting, can be used outdoors and is waterproof.
Pour it in the mould which is already covered with plastic. The cement will take the slightly uneven shape of the plastic, yet having a cylindrical basic shape.
Tap it gently on the sides to remove any air bubbles and to let it spread evenly all over.
Take any empty rectangular biscuit plastic container. Apply any petroleum jelly like Vaseline or oil at its base.
Tip: Application of Vaseline or any other vegetable oil helps easy removal of the molds when the cement dries.
I took two more empty plastic bottles. Applied Vaseline on their bases and the sides halfway up.
Gently and slowly push these into the wet cement where you desire cavities to be formed. After inserting these into the wet cement, fill the empty plastic container halfway up with water. This is to exert more weight down to keep them in place.
Check these pics, the cement starts drying slowly after few hours.When you see the cement turning light grey, it means its drying properly. It takes a minimum of 24 hours to dry in hot and dry weather but if it's humid and moist then it takes longer to dry. It could be more than 48 hours too. When completely dry, only then remove the inserts (plastic bottles and biscuit container ) that are used here to form cavities or hollow spaces. If you try to pull these out while the cement is still wet, you might land up breaking it.
Remove the entire dried cement base out of the cardboard mould along with the plastic attached to it.
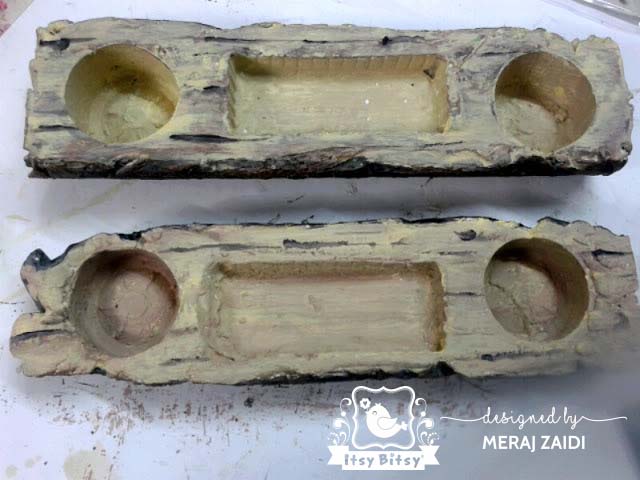
Remove the plastic and the bottles too and start applying Gesso over it.
I made two together simultaneously.Gesso was applied all over the base with a brush.
After the first coat of Gesso dries, apply another thick coat of Gesso again over it giving textured effect with a palette knife on the side curves.
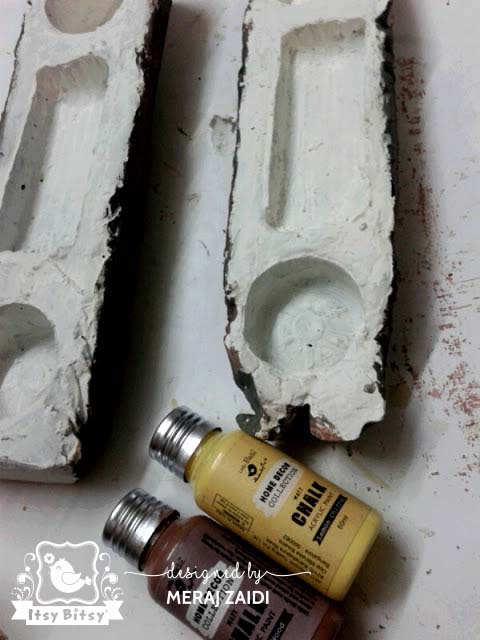
Once the Gesso dries, apply Grainy Texture paste on the side curves to form added rough, textured base.
Finally start painting with the chalk paints, mixing and shading with the colors of your choice. I used black, grey, brown and green The colors are listed below in the list of products used.
Sides will look like this.

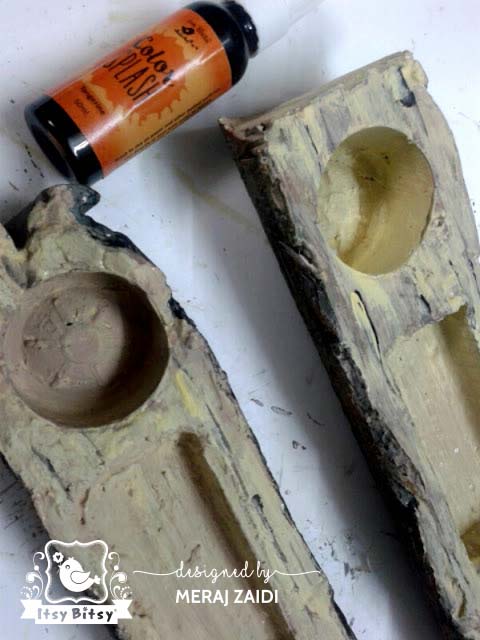
Once the curved bottom base is colored and done, start painting on the top flat portion with chalk paints using lighter shades to create a light wood effect.

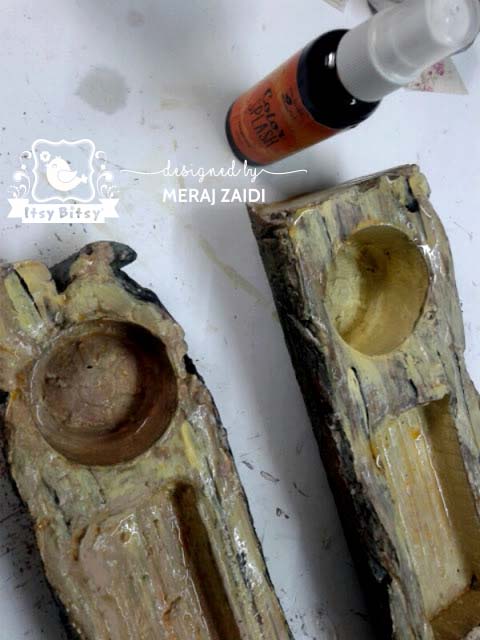
Paint the top with a wash of Color Splash to give rustic orangish transparent tint.
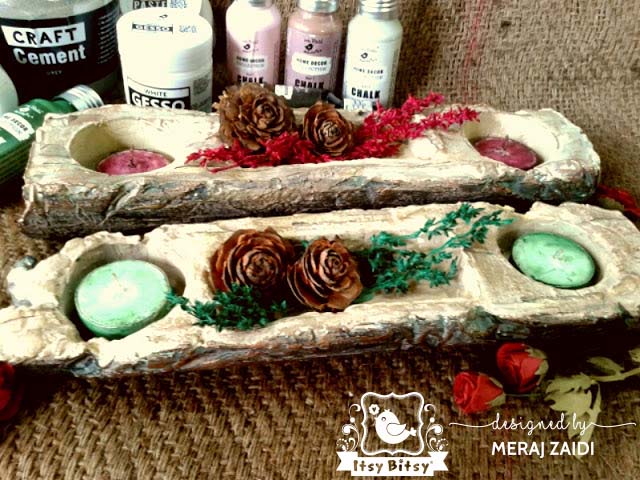
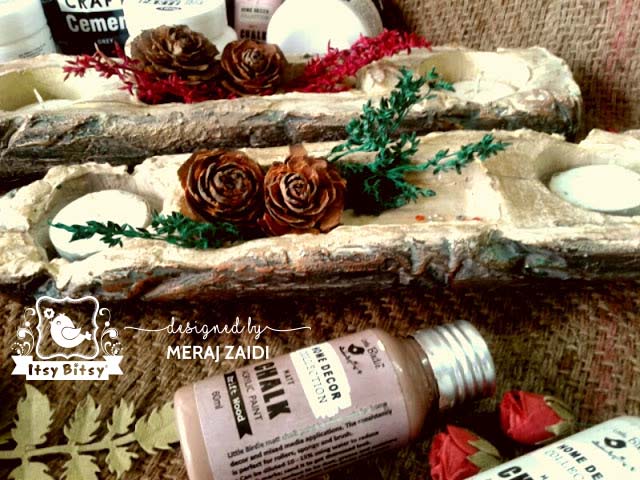
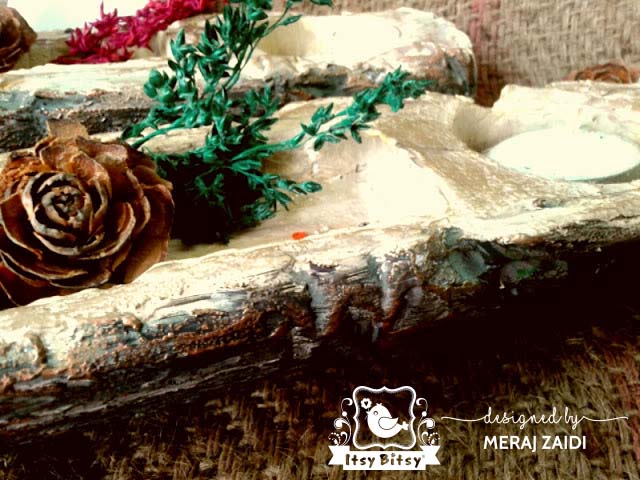
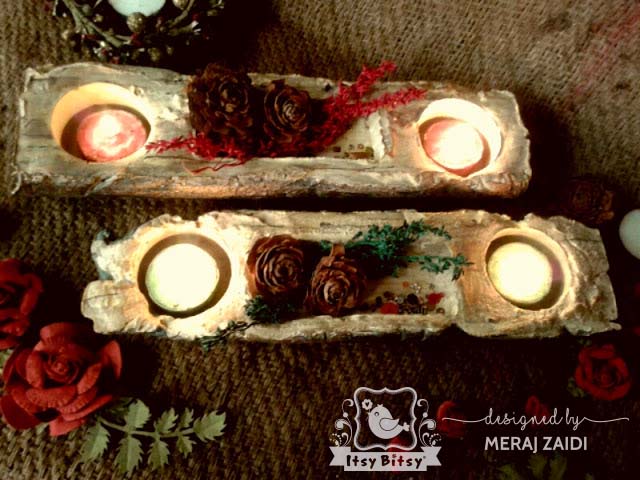
Keep blending colors till you achieve the right shade of natural-looking wooden bark. Here is the final outcome of the Faux Wooden bark Candle Holder. Place the tealights in the cavities and adorn the center part with flowers, ferns, sequins etc.
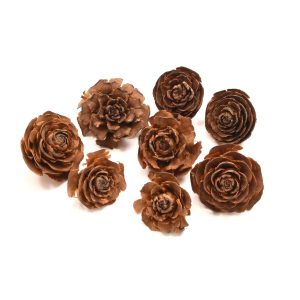
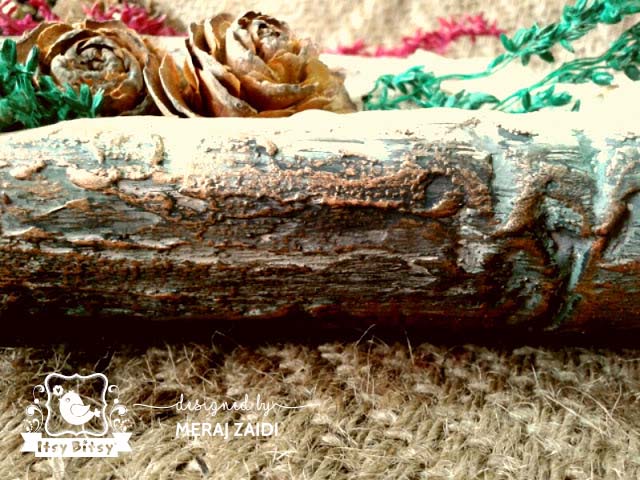
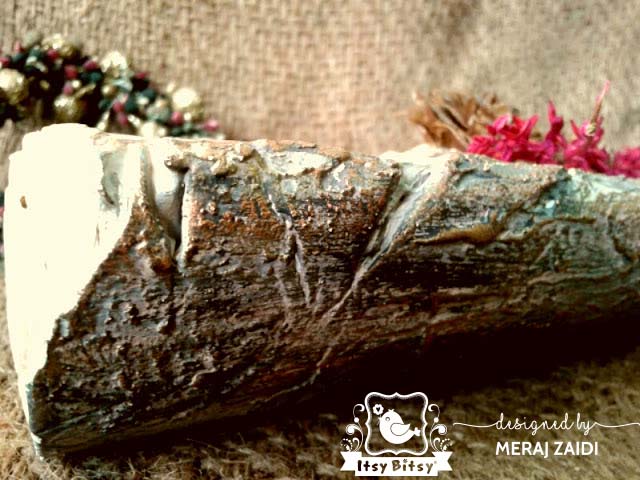
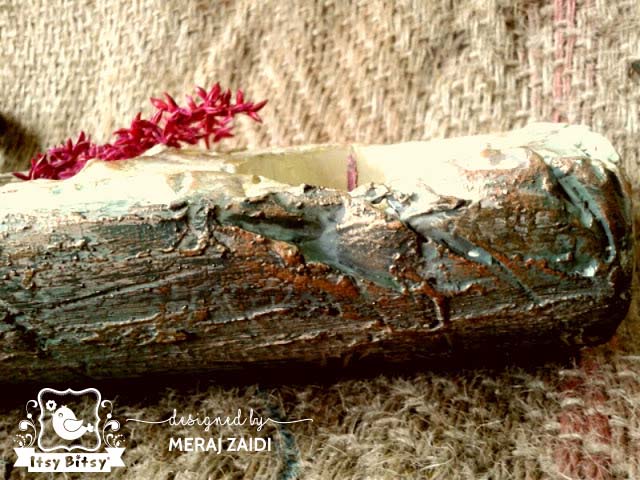
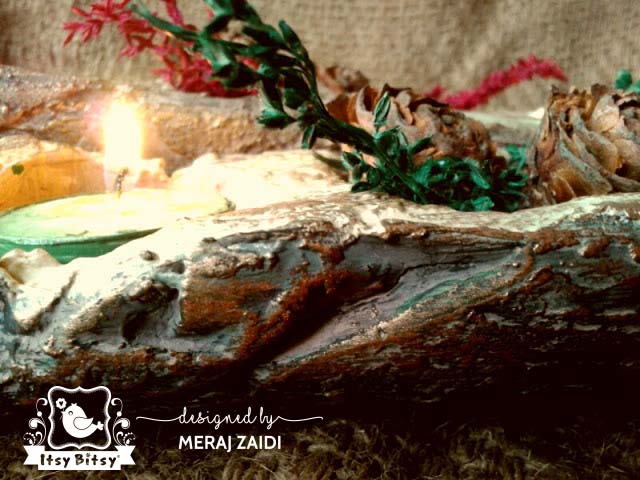
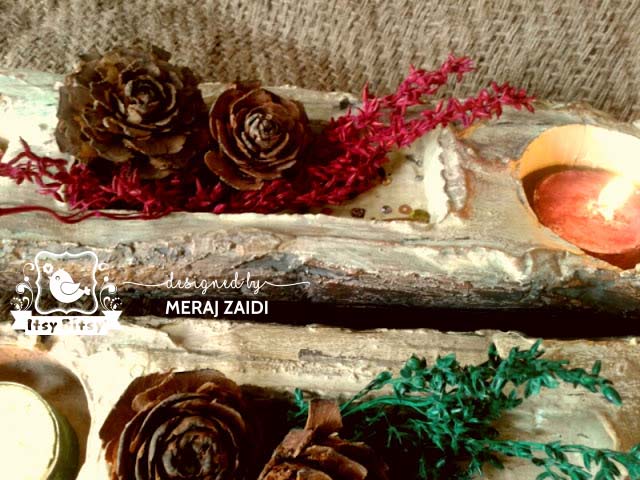
Kindly go through the detailed closeup pics taken for you to see the created textures from different angles to get the feel of a real tree bark. Some pics are with lit up candle tealights and some without. The center can be used to decorate with the things you desire to. I chose natural pine flowers, ferns and sequins.
Decorate and adorn a cozy corner of your home with this delightfully warm creation. Thank you so much for stopping by. I hope you like this creation of mine and have got inspired to create and share with us your own unique creation in this month's Blog Challenge of Home Decor. In case of any query feel free to ask in the comment section and I will be happy to answer your questions.
Happy Crafting friends
Love,
Meraj Zaidi
I am sharing the List of Products used below :
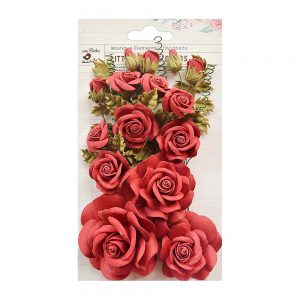
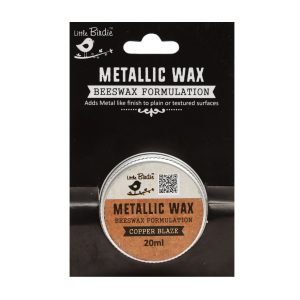
Products listed below are used to adorn the candle holder bark on and around it.
